
PROJECT REVEAL | STARGEN PREP
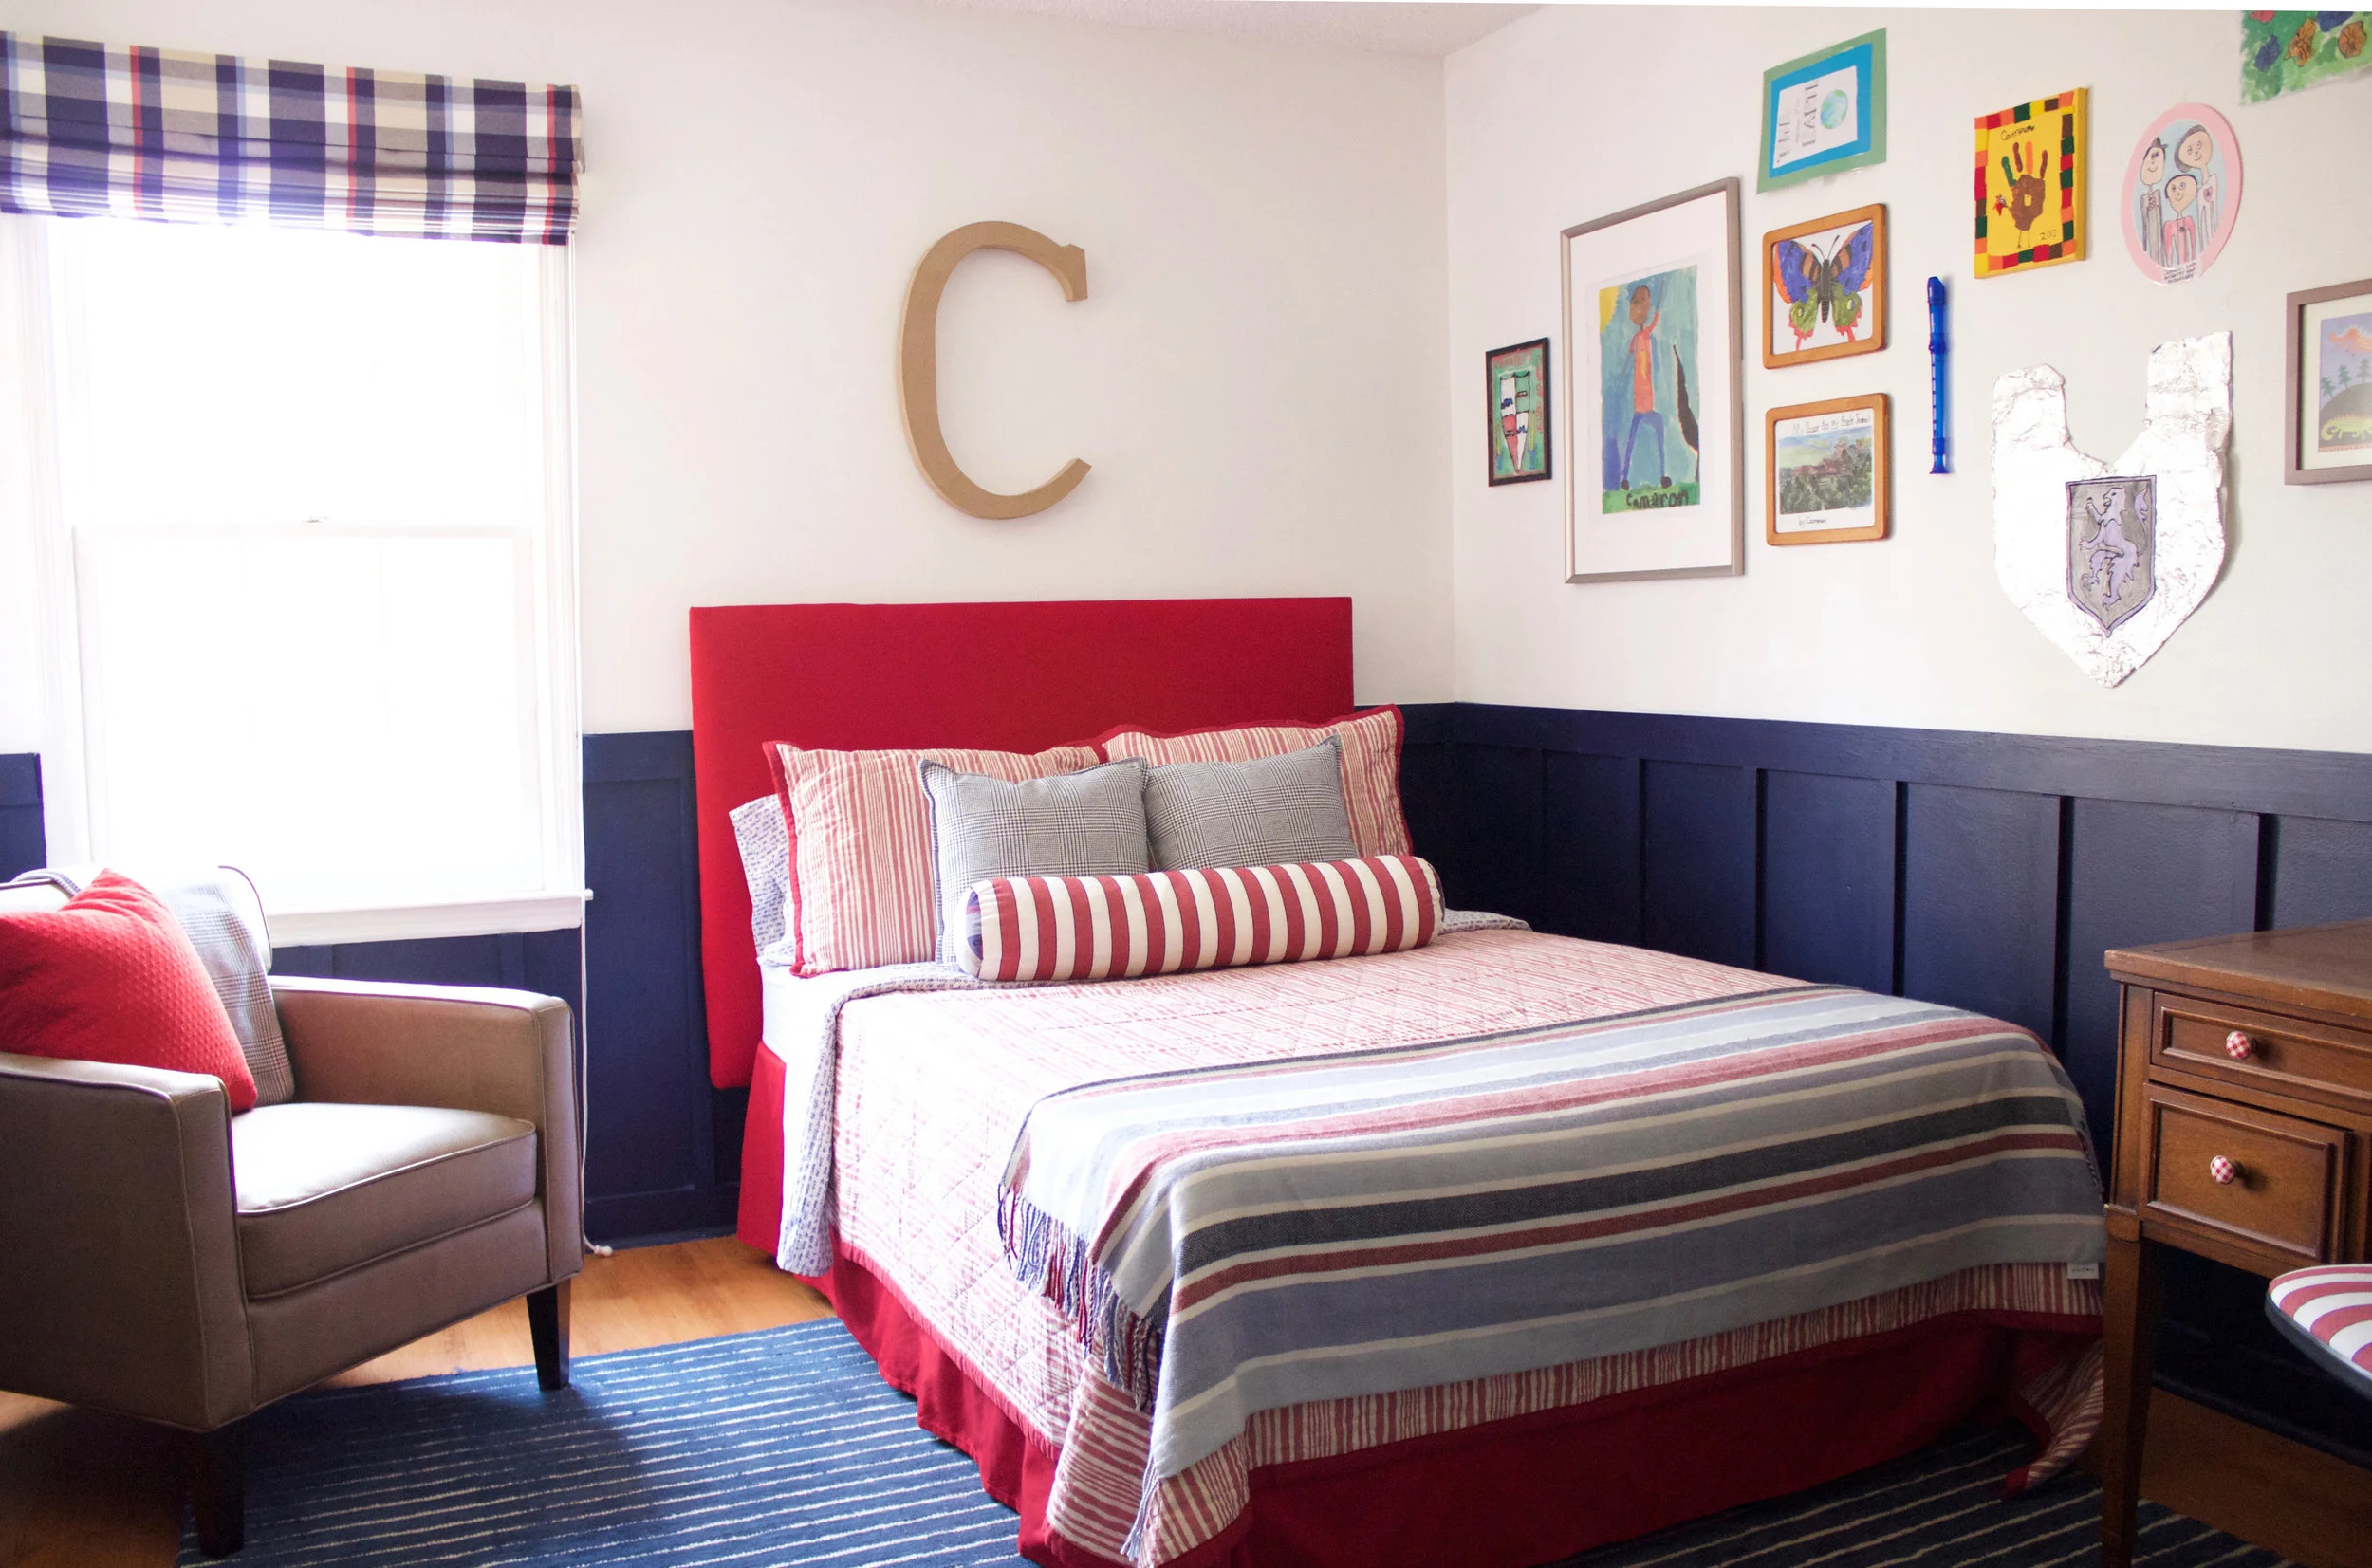
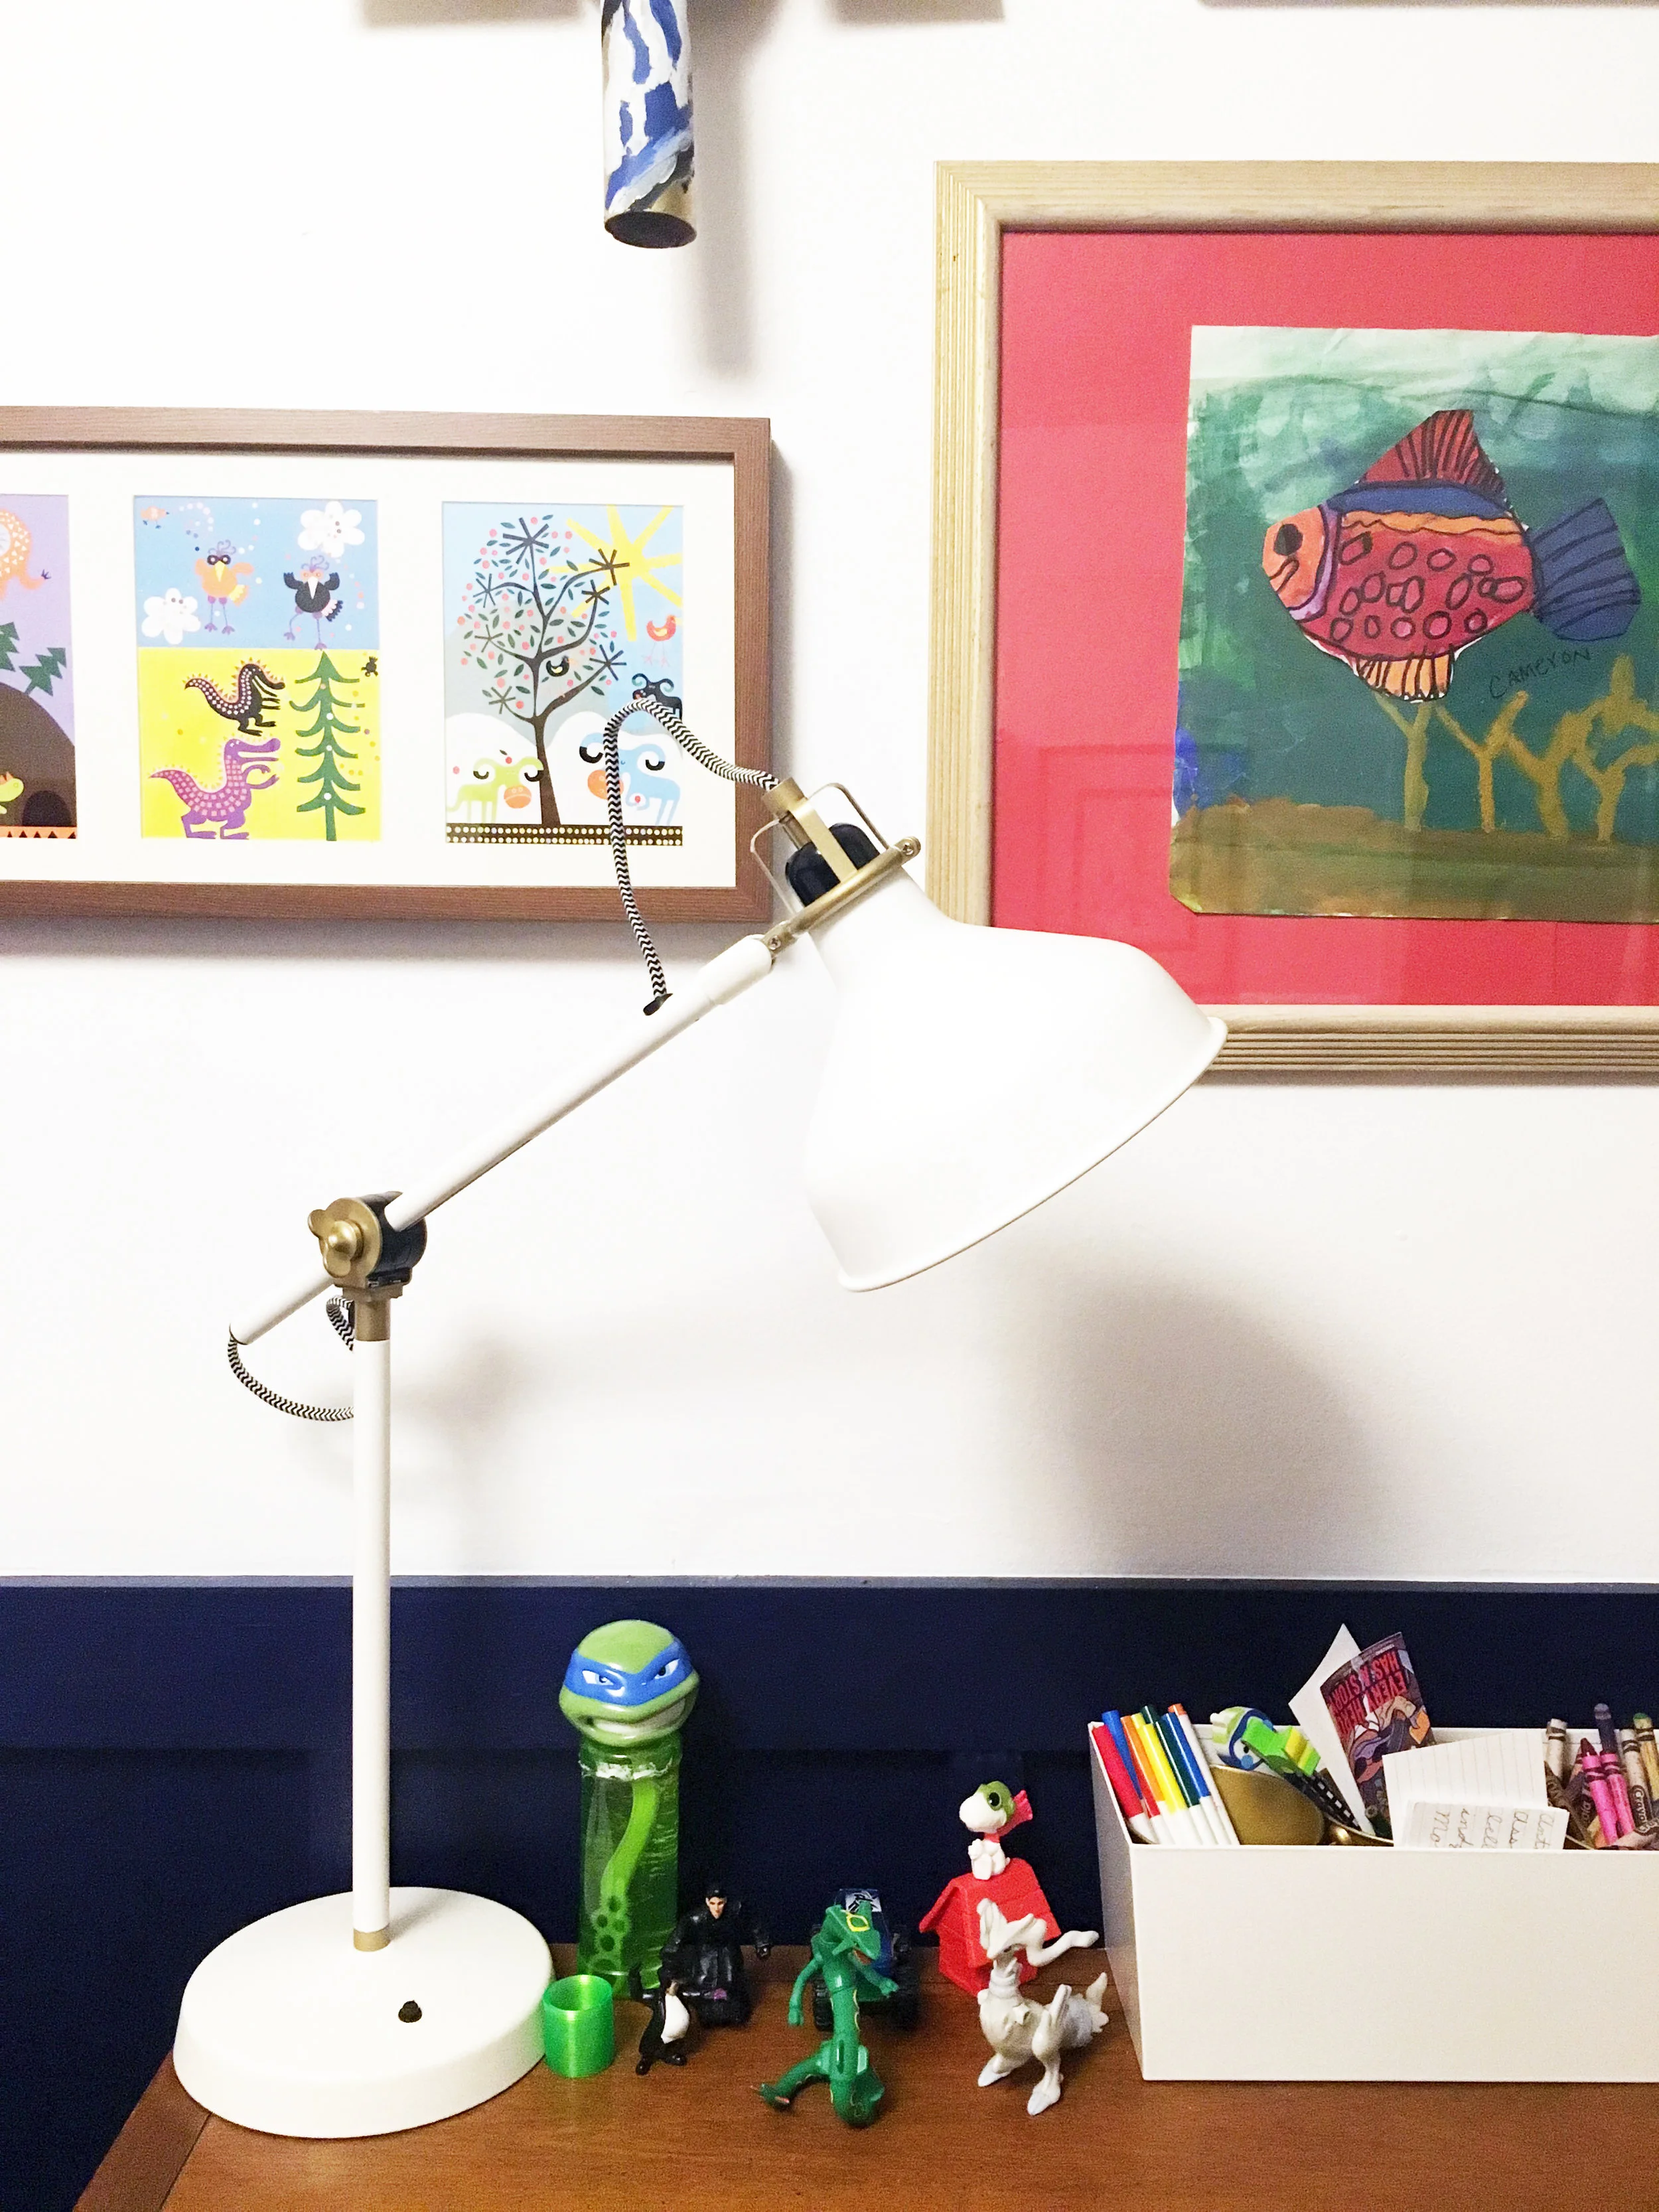
A while back I finished a bedroom for one of my favorite preteens. He is witty, charming, sweet, and loves displaying his artwork. His mom asked me to overhaul his bedroom and I am so excited to share the finished project with you. The look I was going for was preppy, Polo Ralph Lauren meets classic boys club, but still for a young, creative fellow.

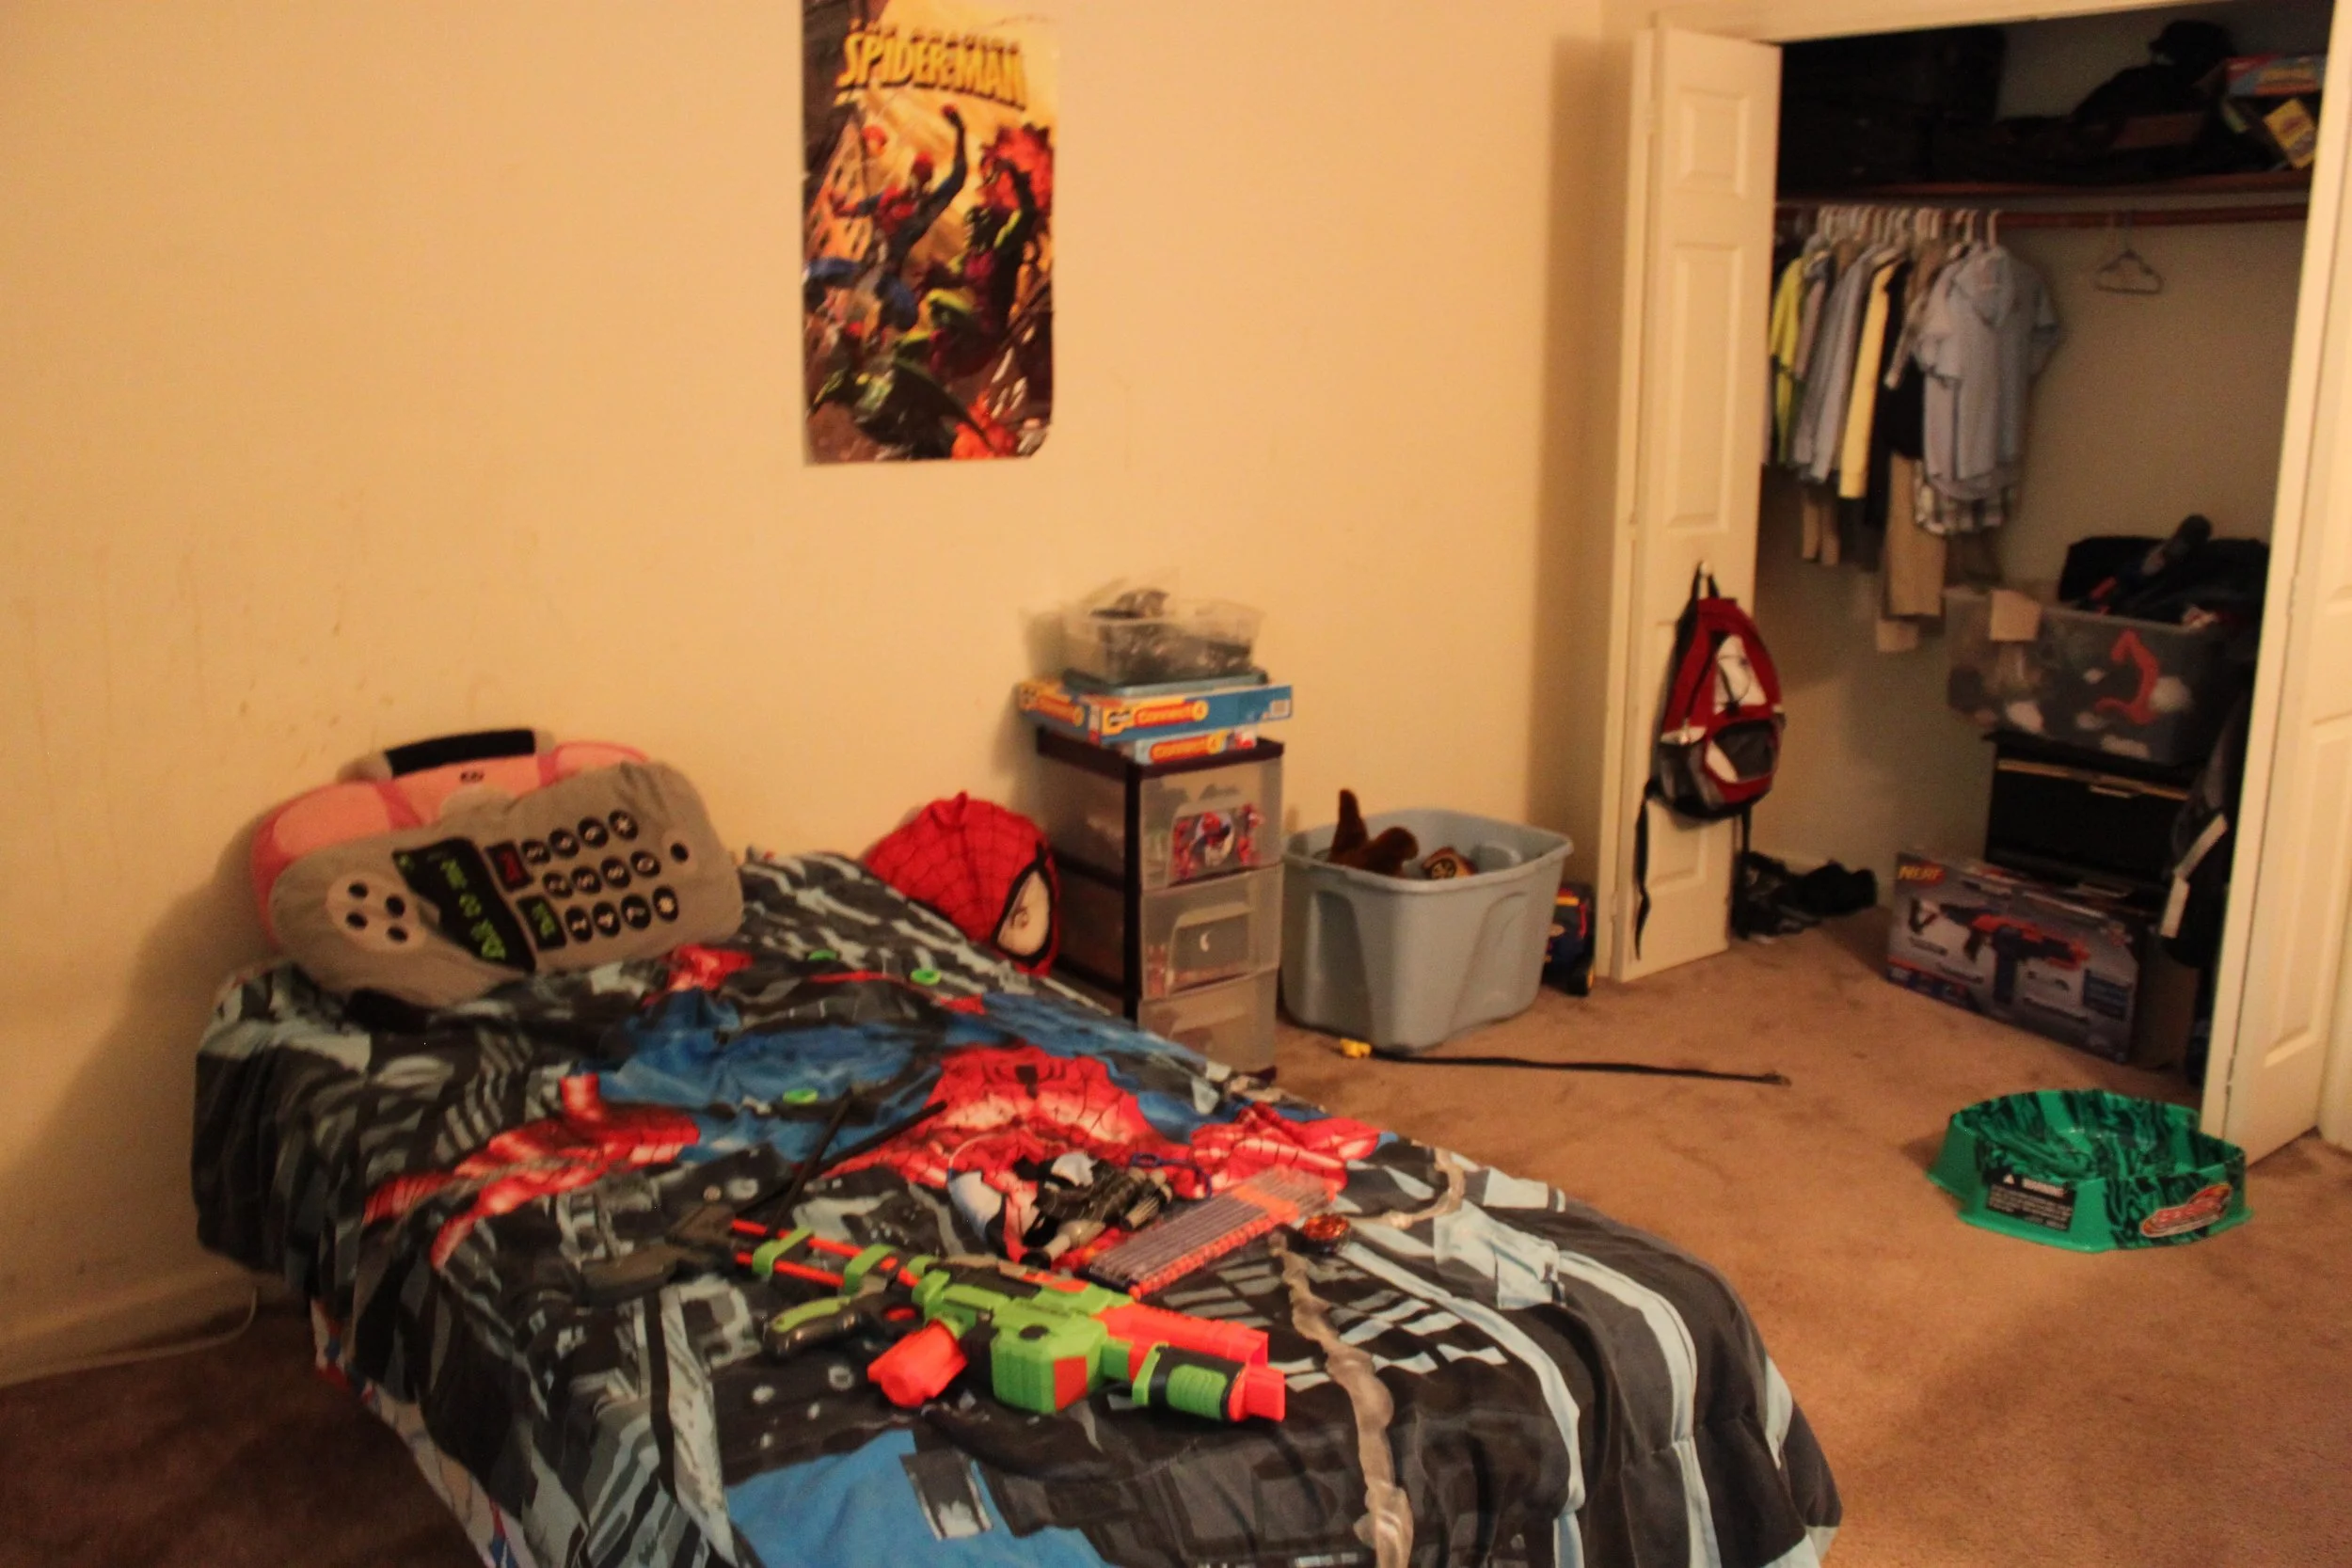
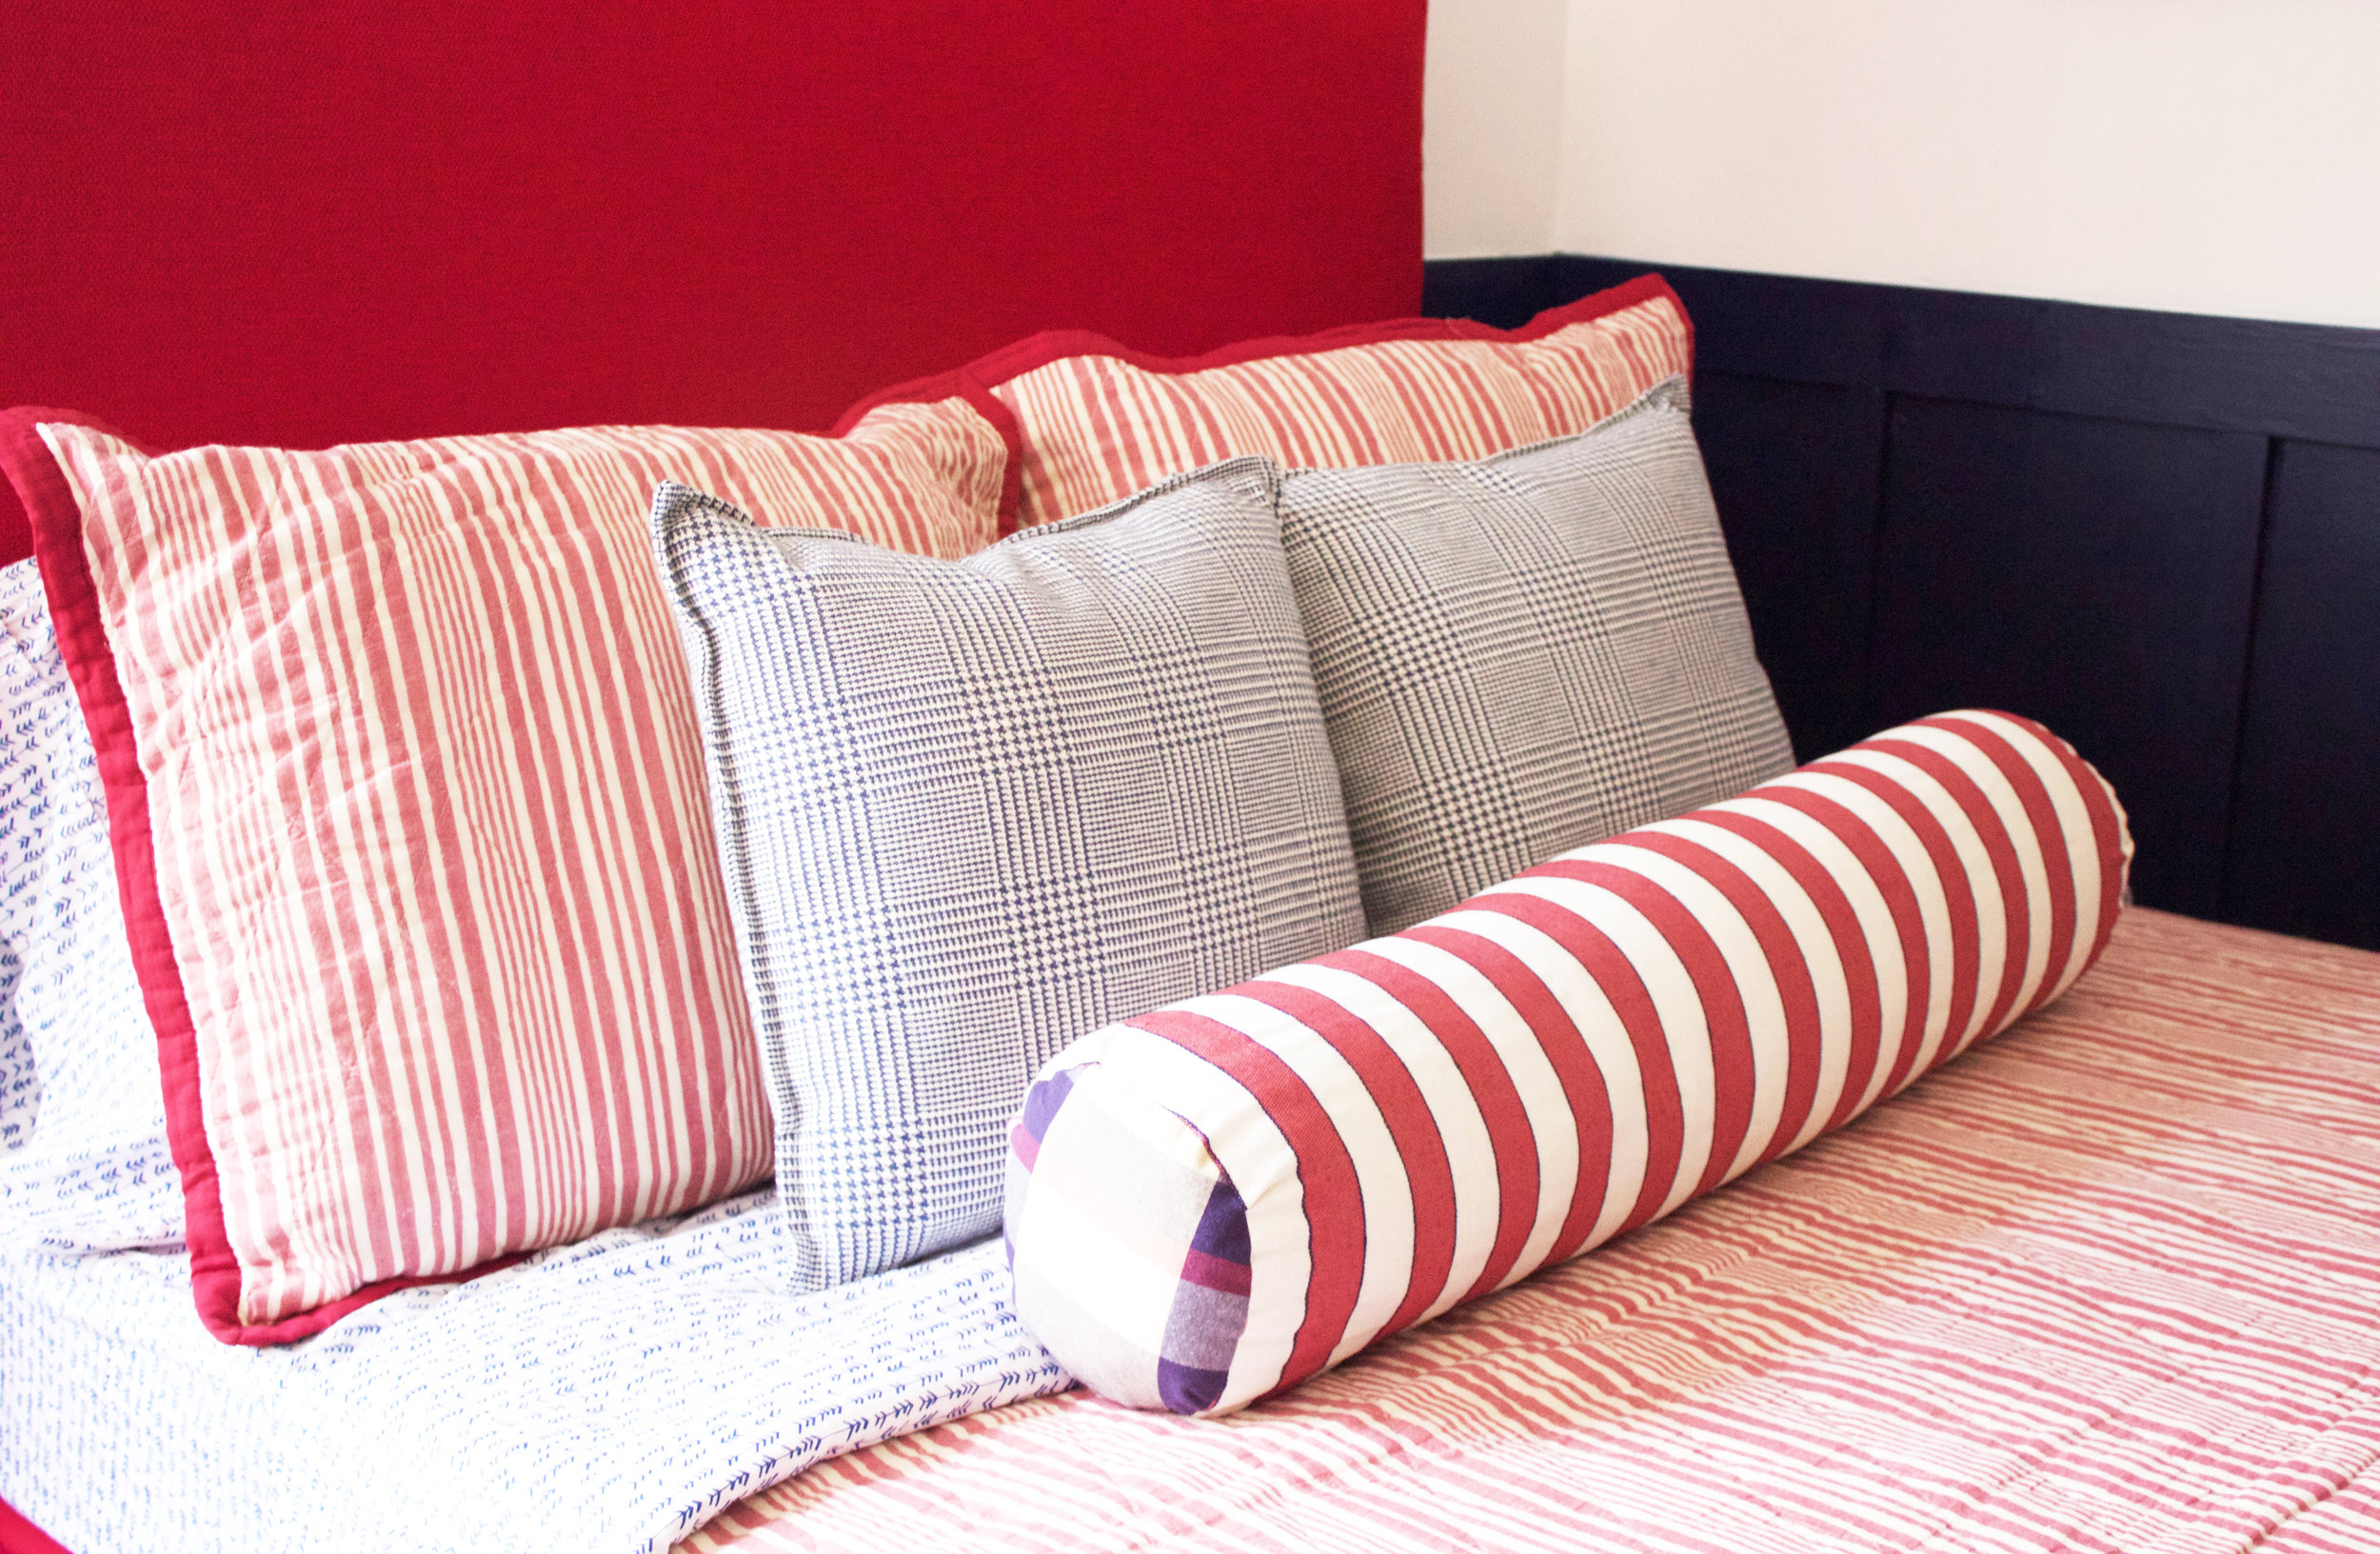
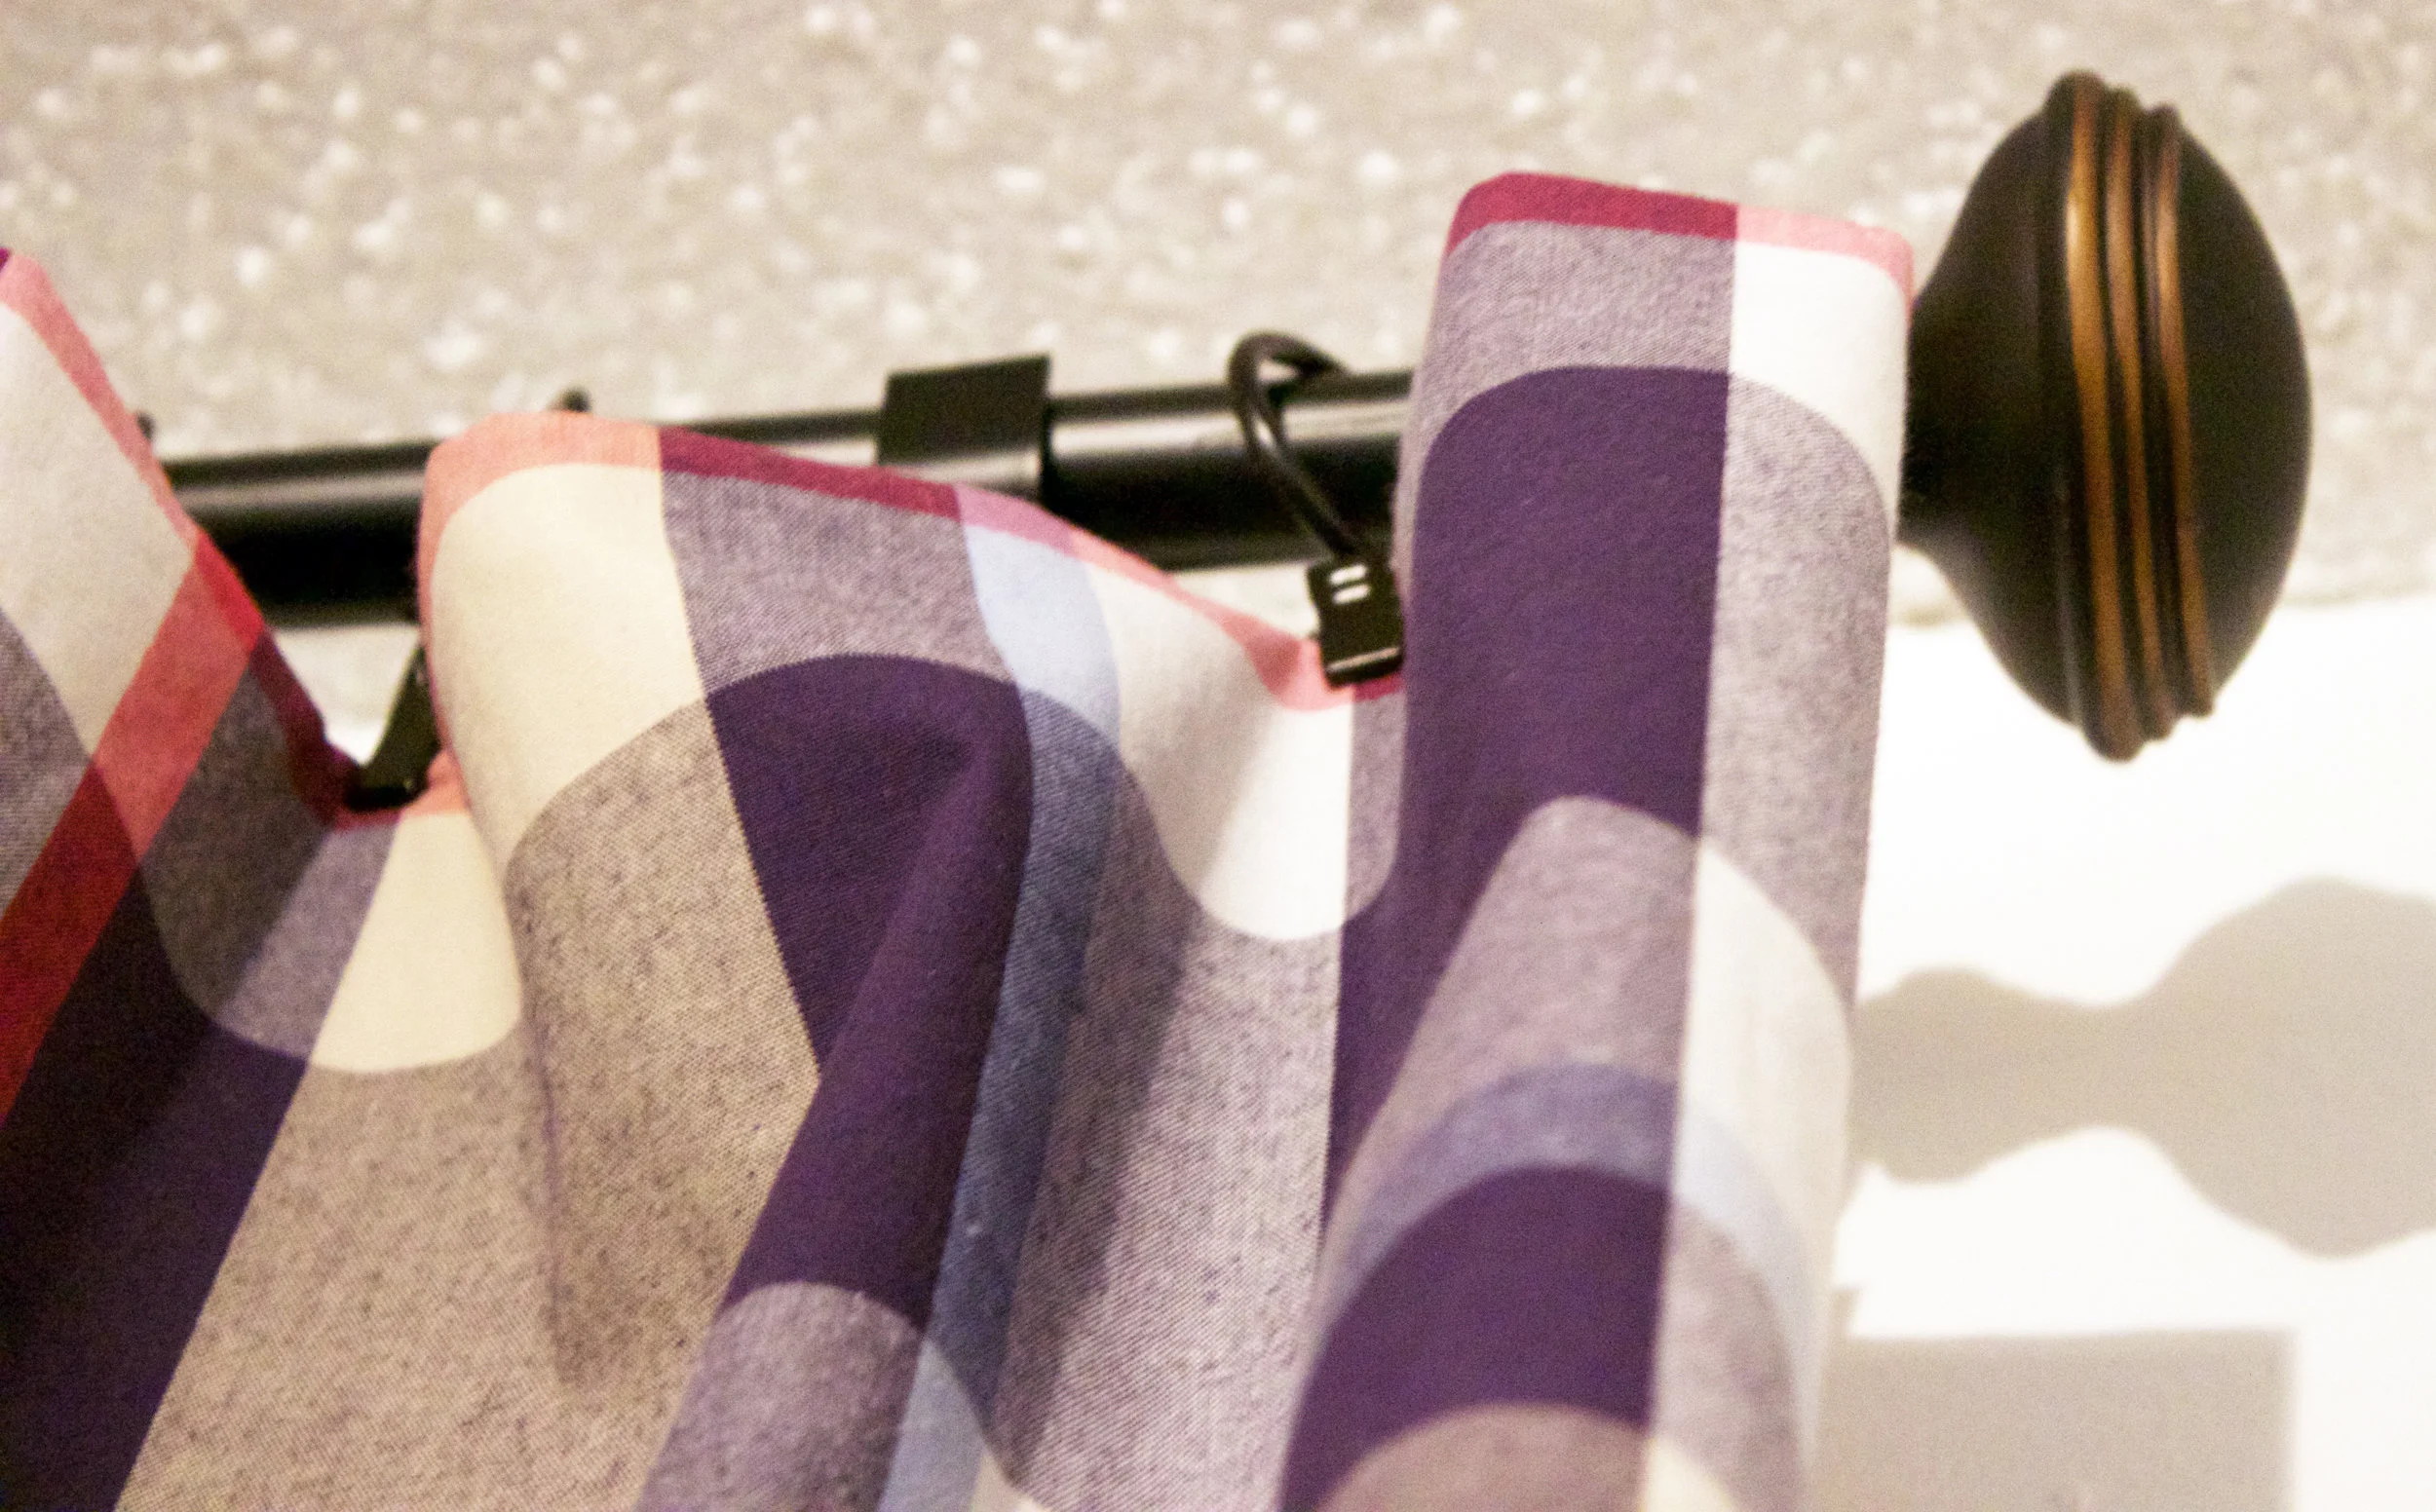
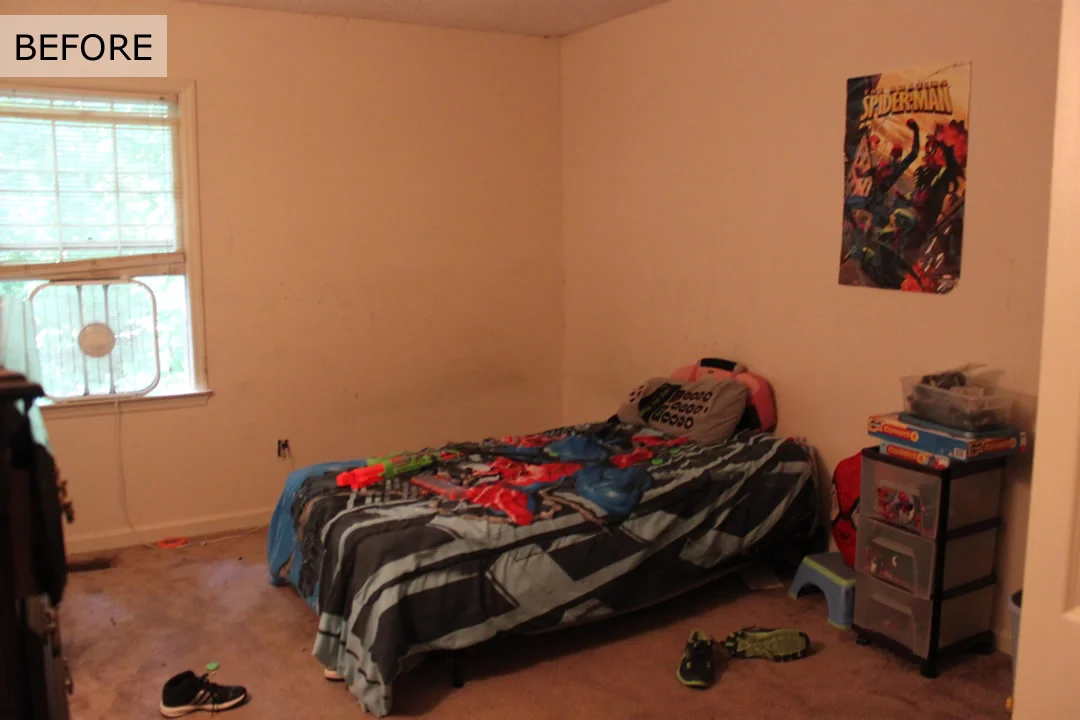
A while back I finished a bedroom for one of my favorite preteens. He is witty, charming, sweet, and loves displaying his artwork. His mom asked me to overhaul his bedroom and I am so excited to share the finished project with you. The look I was going for was preppy, Polo Ralph Lauren meets classic boys club, but still for a young, creative fellow. Below is the before. For more information about this space you can read all about where we started and what the space looked like after adding the architectural details. And let me tell you, adding something as simple and clean - lined as board and batten can really transform the look of any room. I also added so much more furniture in the room which actually made the room feel and look bigger rather than smaller. The room is adorned with custom accent pillows and custom drapes for the closet and window.

AFTER
Nothing makes a designer's day like seeing the faces of your clients light up when the project is done. And my day was totally made when they walked in the room.

PROJECT UPDATE | STARGEN PREP

 A few weeks ago I shared with you Stargen Prep. A boys bedroom with a preppy, Polo Ralph Lauren meets classic boys club kinda look and feel. I have actually been working on it for a few months and things have shaped up nicely and are now winding down. The reveal will be in a few short weeks. I cannot wait to share it with you! In the meantime I have a few sneak peeks to share with you.
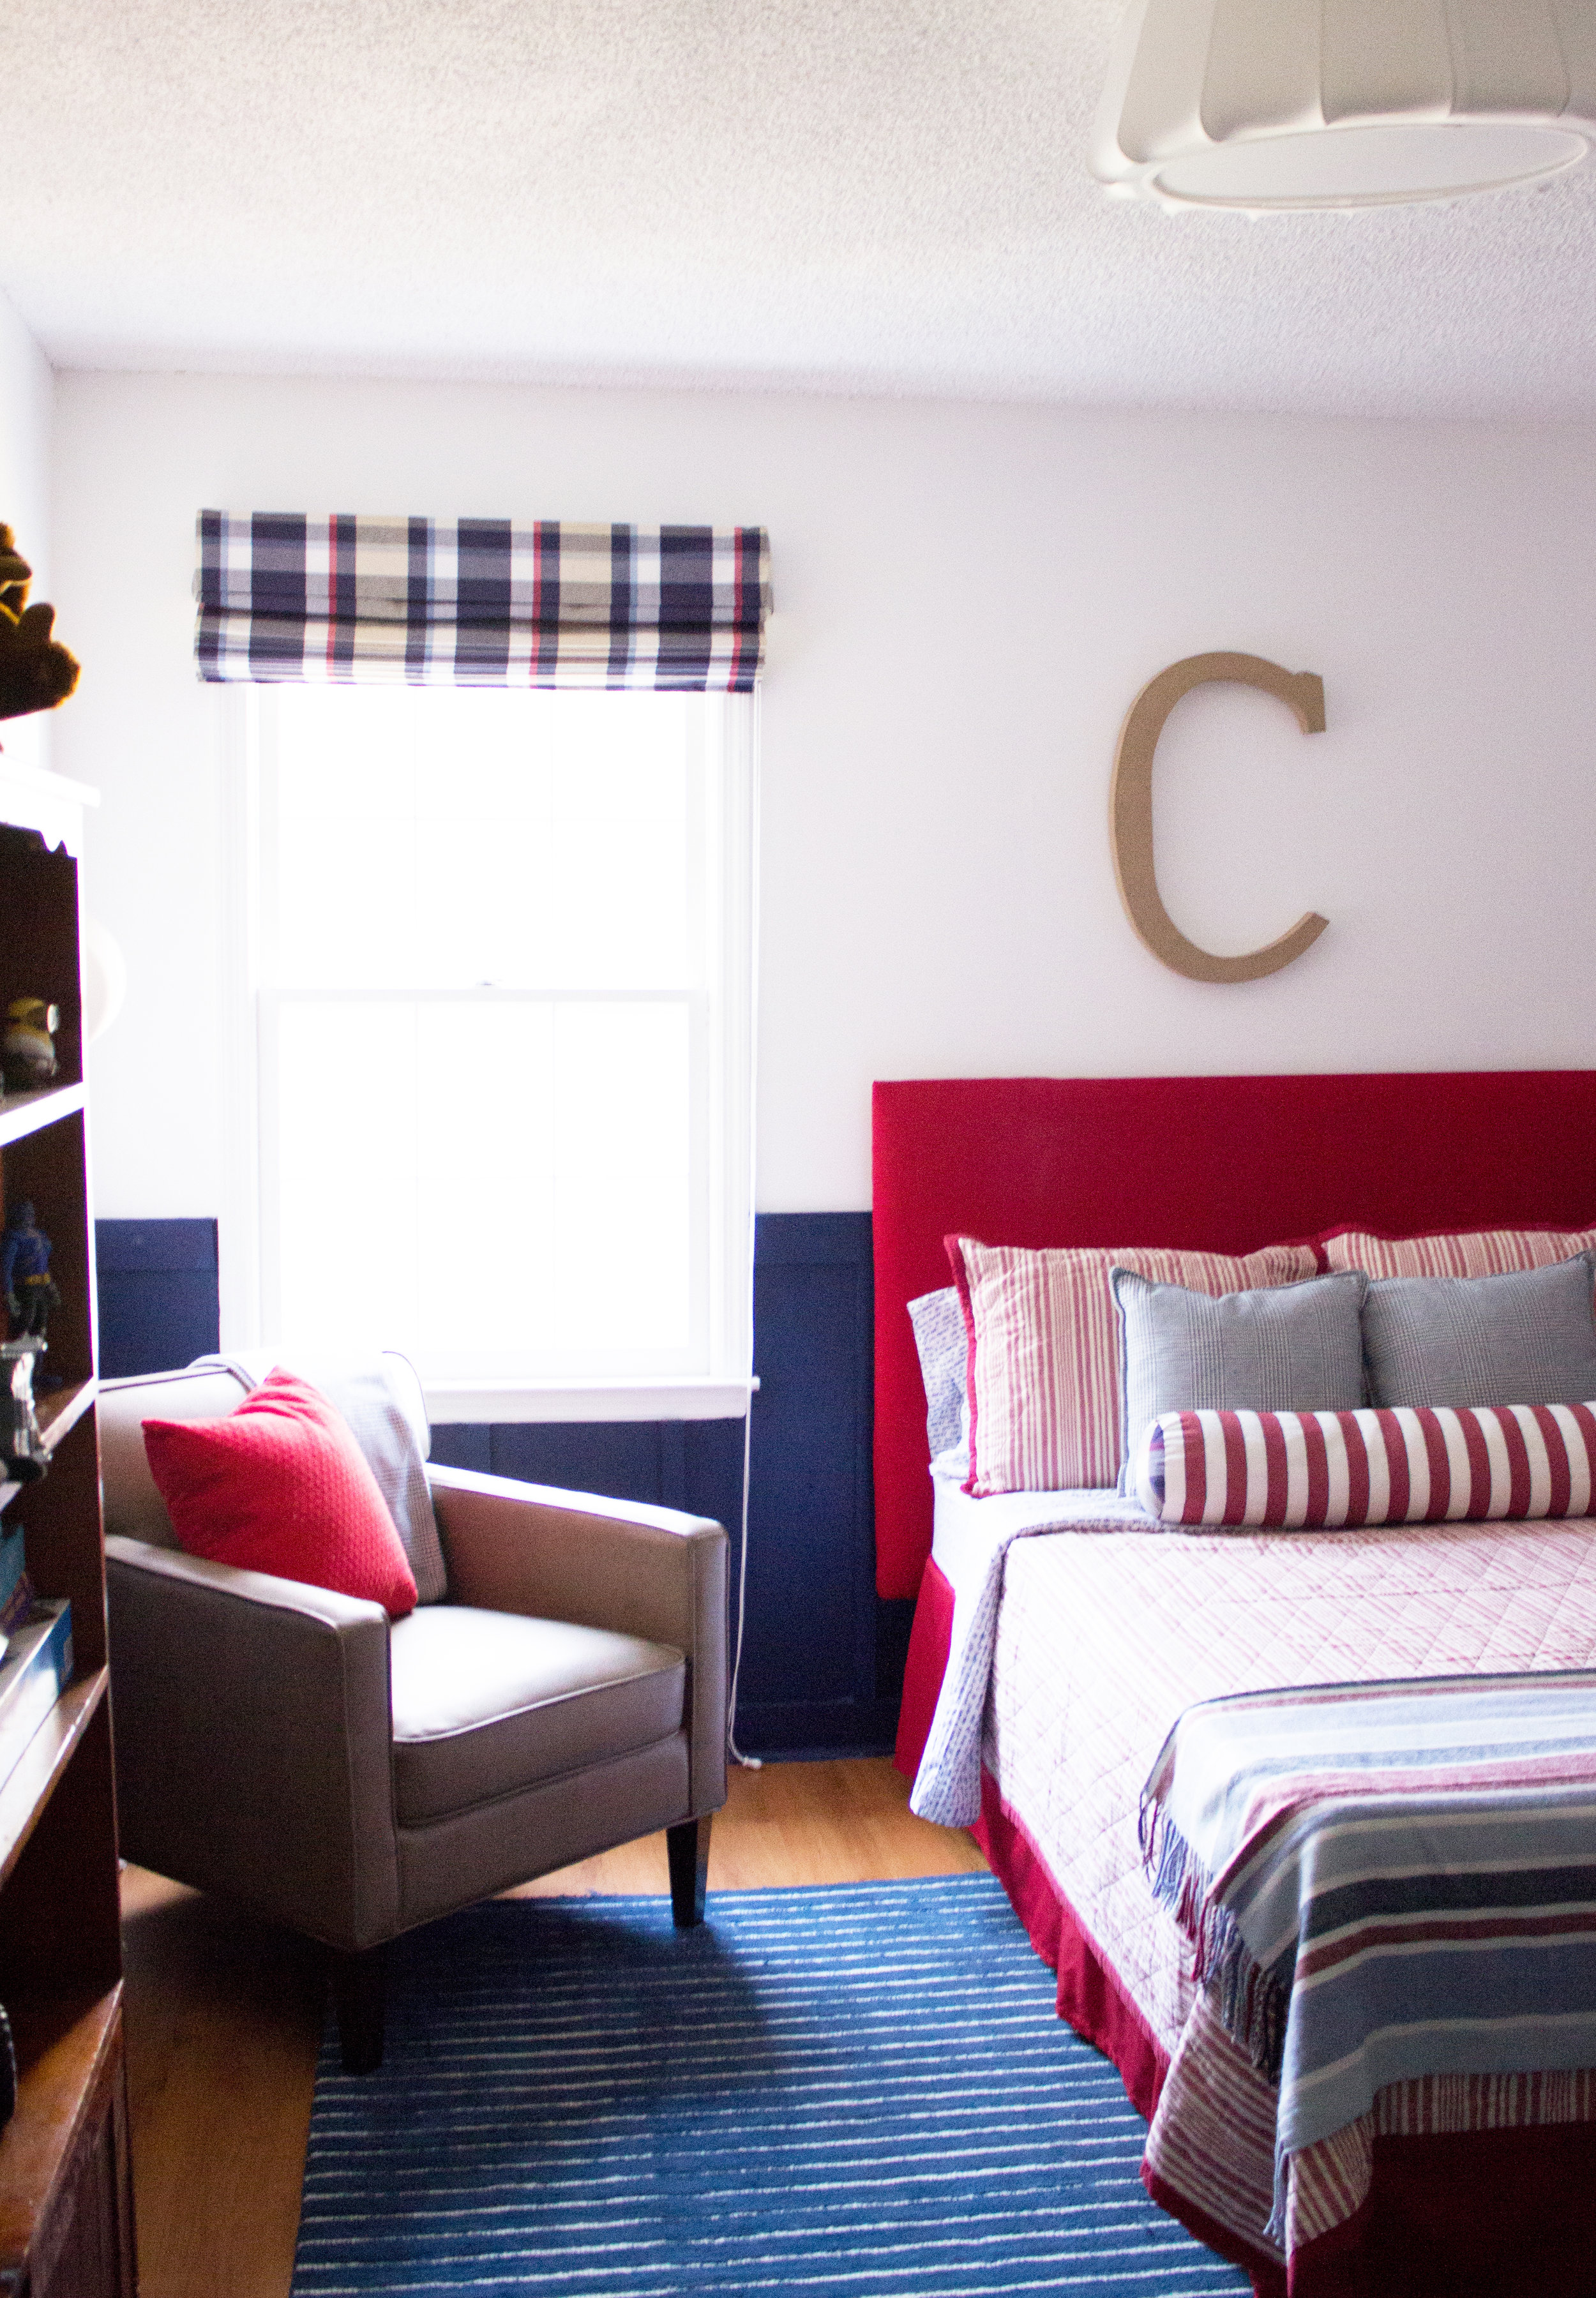
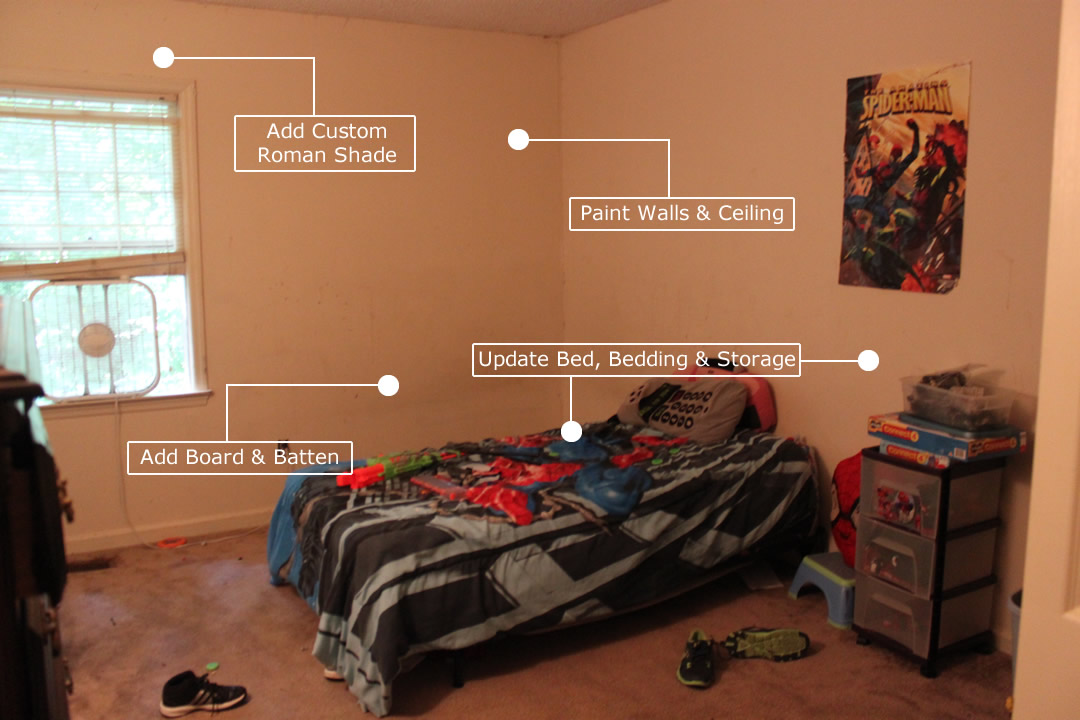
One of the easiest and most cost efficient ways to add architectural detail to a room is adding board and batten, bead board, or moldings around the room. For this project I choose board and batten. The boards are the horizontal strips of wood (MDF can also be used) and the battens are the vertical strips of wood. Although it's a wee bit hard to tell, the lower half is painted a beautiful rich indigo blue - Indigo Ink by Home Decorators.
If you search board and batten on the web, most of the time you will find the lower part of the walls painted white or a lighter color and the upper part painted another color. Because the almost preteen that inhabits this space is quite active, my recommendation was to paint the inverse. We are beyond thrilled with the outcome so far.
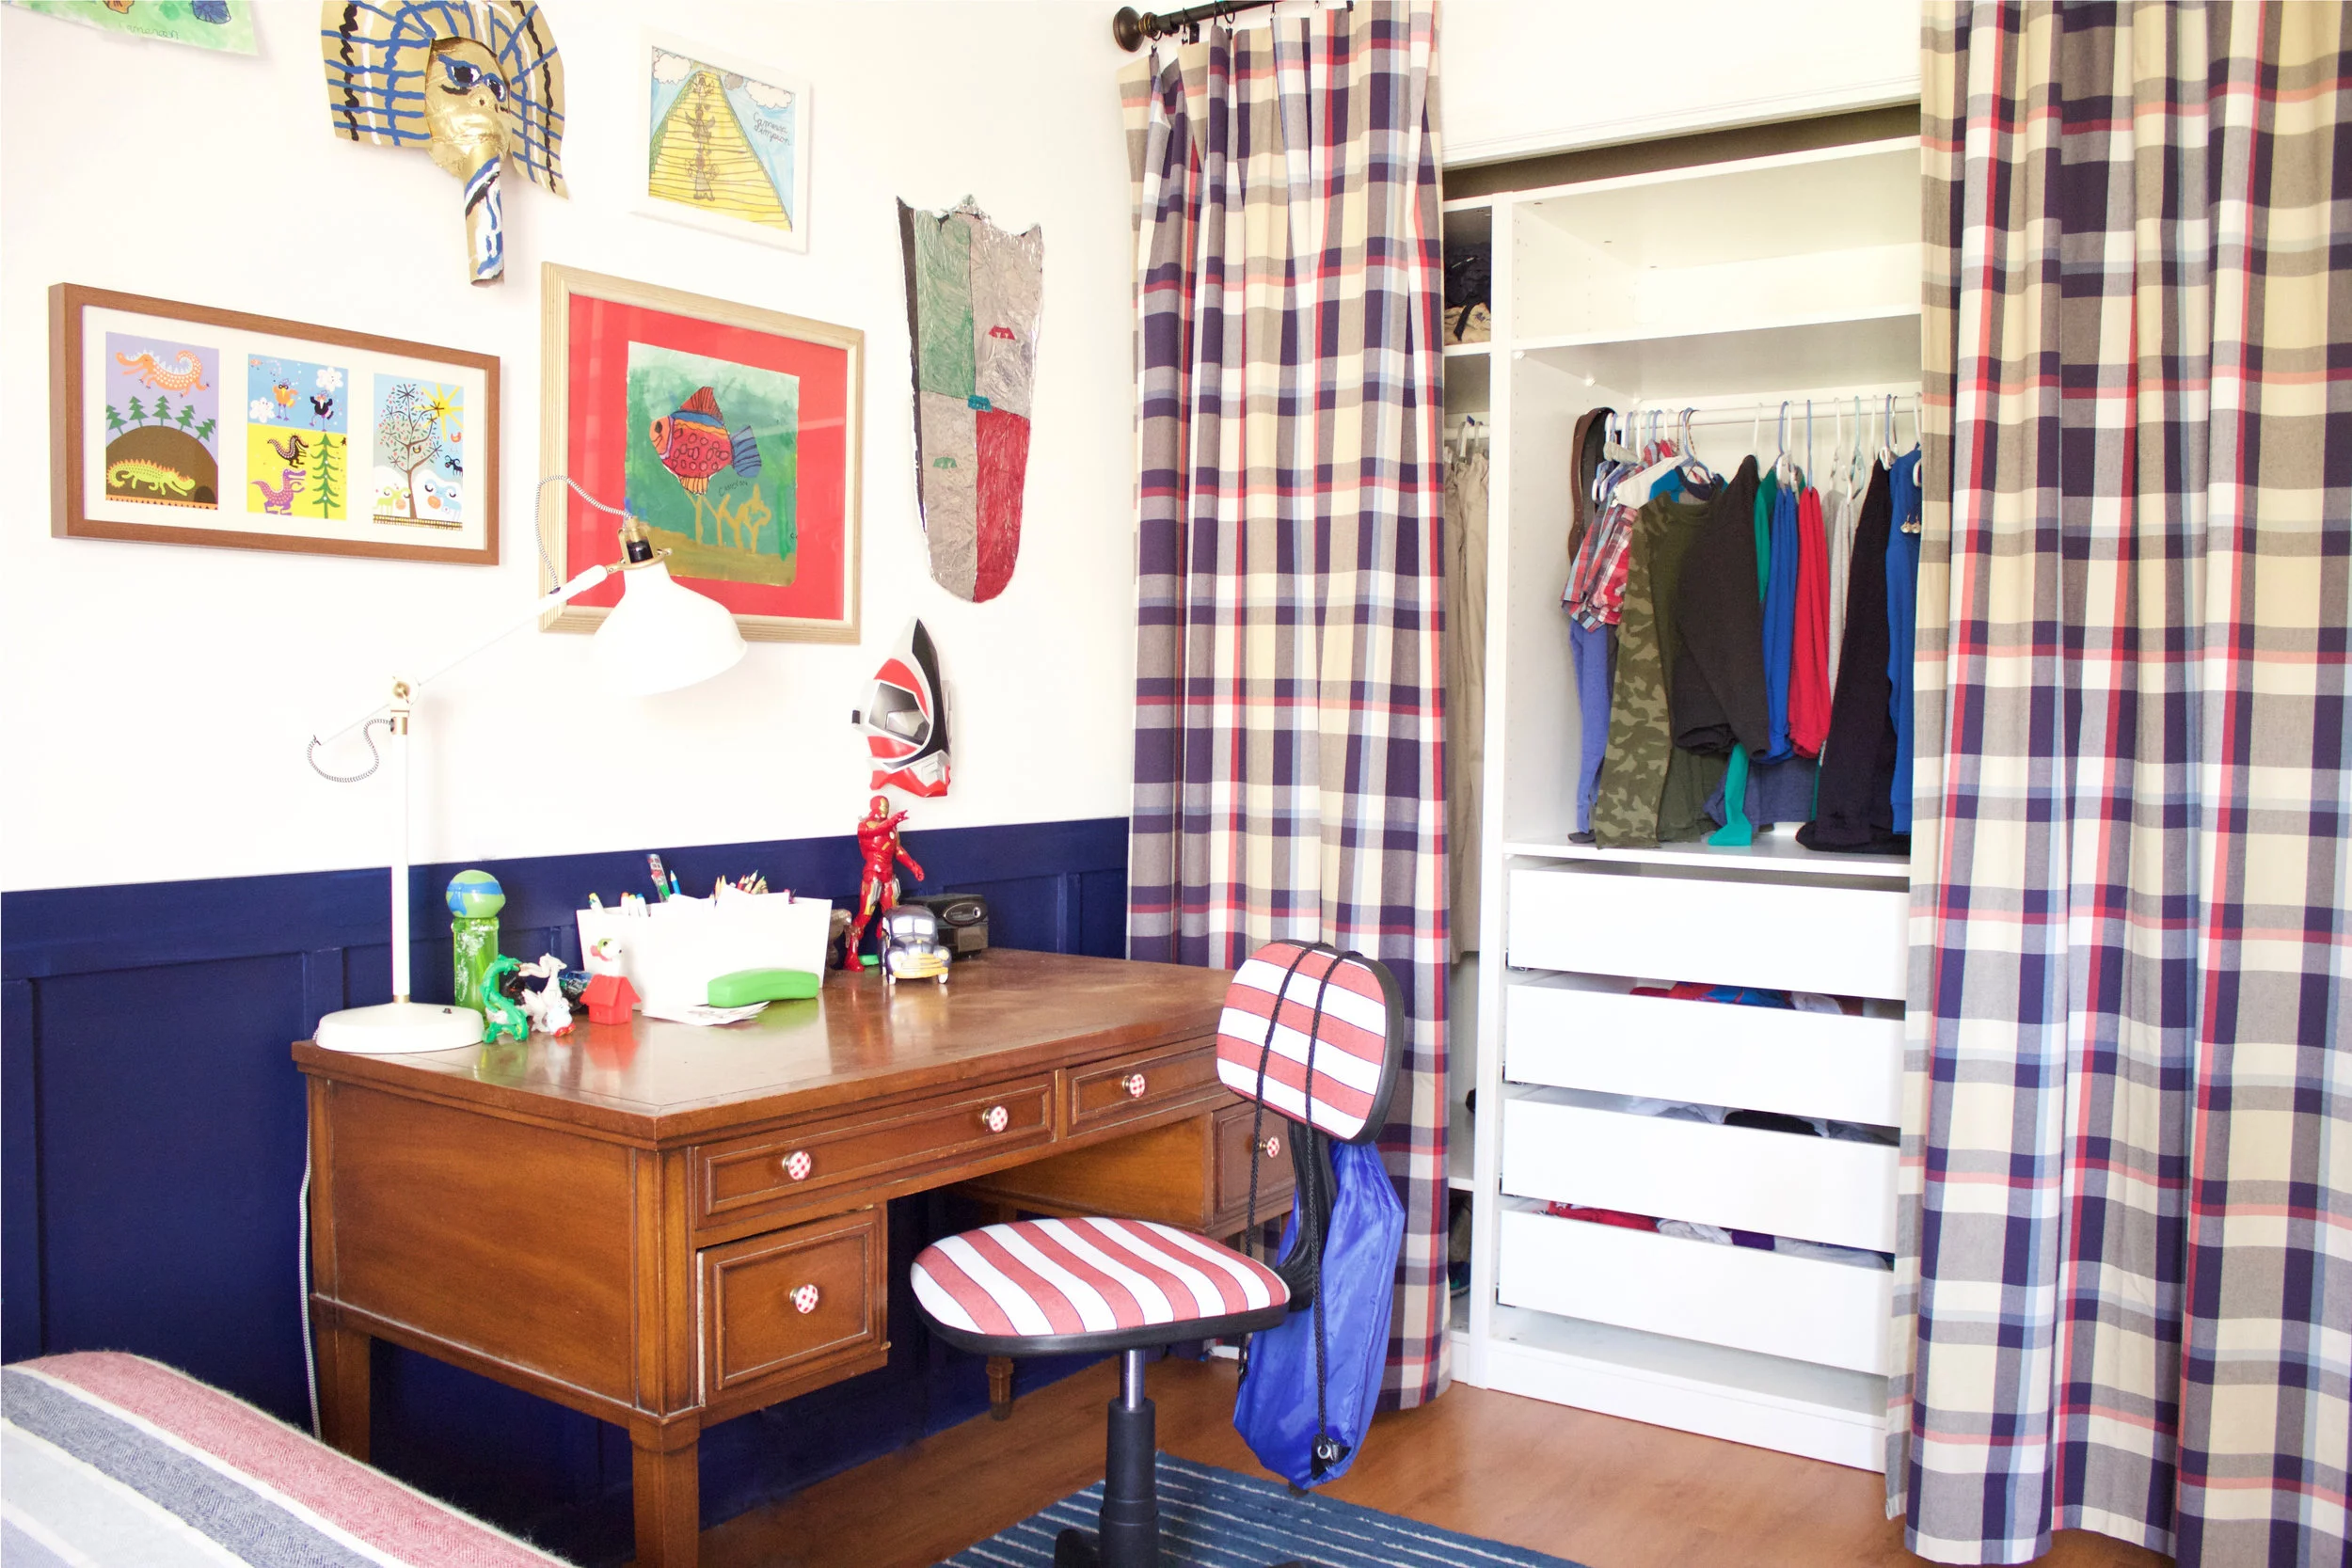
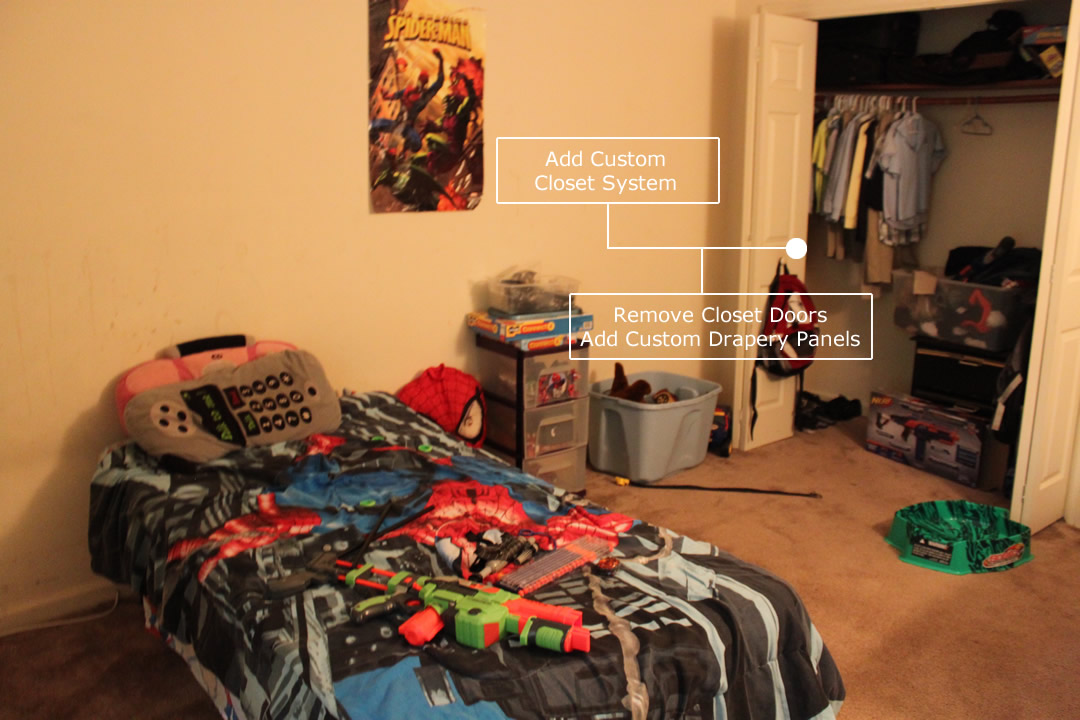
 To add organization to this space and maximize the floor space for play, we decided to remove his chest of drawers from the room (it had seen better days =)) and add that function into his closet system. LOVE IT!!!


From the image above you can also see that the old carpet was removed and replaced with hardwood flooring (well it's actually vinyl flooring that looks like hardwood). If you didn't know it, you would not even be able to tell. We added a super comfy and plush wool rug. It feels so good underfoot and it grounds the space nicely. More furniture that what was there before has been added into the room and believe or not, the space feels so much larger.
As you can see things are moving right along! The reveal will be happening in a few short weeks. So stay tuned! Thanks for stopping by!
Making Home, Home!
Kathleen
NEW PROJECT | STARGEN PREP
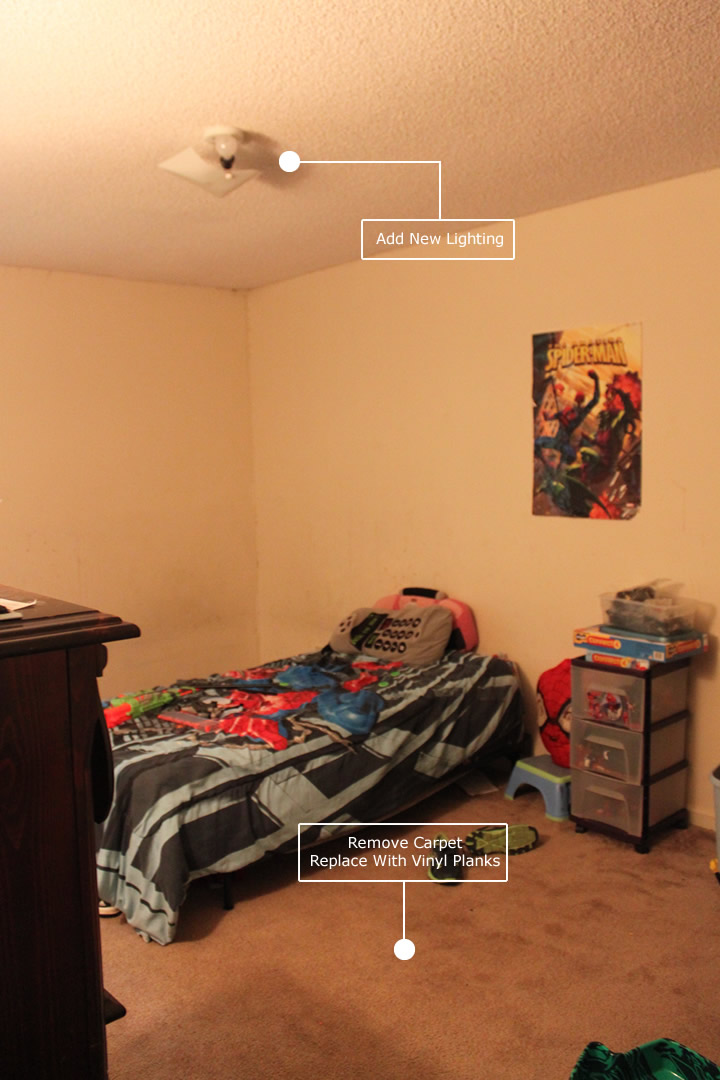
 Hey everyone! I know, I know...it's been a few weeks, but I am here today bringing you a new project I've been working on. I am introducing to you - Project Stargen Prep. My little client is moving into his tween, well almost preteen years, and his mom thought it was befitting for him to have a room makeover. And looking at the before pic I know you agree!
I first met my clients when we moved her from North Carolina. The mom and I instantly hit it off and our sons are best buddies. I have probably talked her head off about starting my design business a gazillion times and of course once the dust settled we got started on Stargen Prep.
I have to admit, this project has been the most challenging. It was my first time hiring trades, getting quotes, and having some other things custom made. Being transparent - it was a little scary. I have hired folks for myself before, but for someone else - admittingly I was a little nervous. What if they didn't follow through? What if their work was shabby? What if they ended up not being worth the cost? All those thoughts ran through my head and unfortunately, some of my thoughts quickly became a realization. I had a few trades folks with no follow through. Talk about totally frustrating - especially being in the midst of a project and at the risk of looking like you (the designer) have unreliable people. Sigh..I have never been so upset. But a good designer grows from these challenges, quickly puts things in perspective, rolls her own sleeves up if need be, and keeps the project moving. And guess what? That's exactly what I did. Oh..and thank God for an understanding client, some aren't always so forgiven.
The Plan - Fabrics & Floor Plan
So, what is the plan you ask? We are PREPPING this room out! It will have a preppy, Polo Ralph Lauren meets classic boys club kinda look and feel. Of course it will still have some kids stuff too. He loves to draw so we will use some of his artwork to decorate the room. This will be a space he can grown in well into his teenage years, possibly even headed out for college. Hopefully he won't tire of the look.
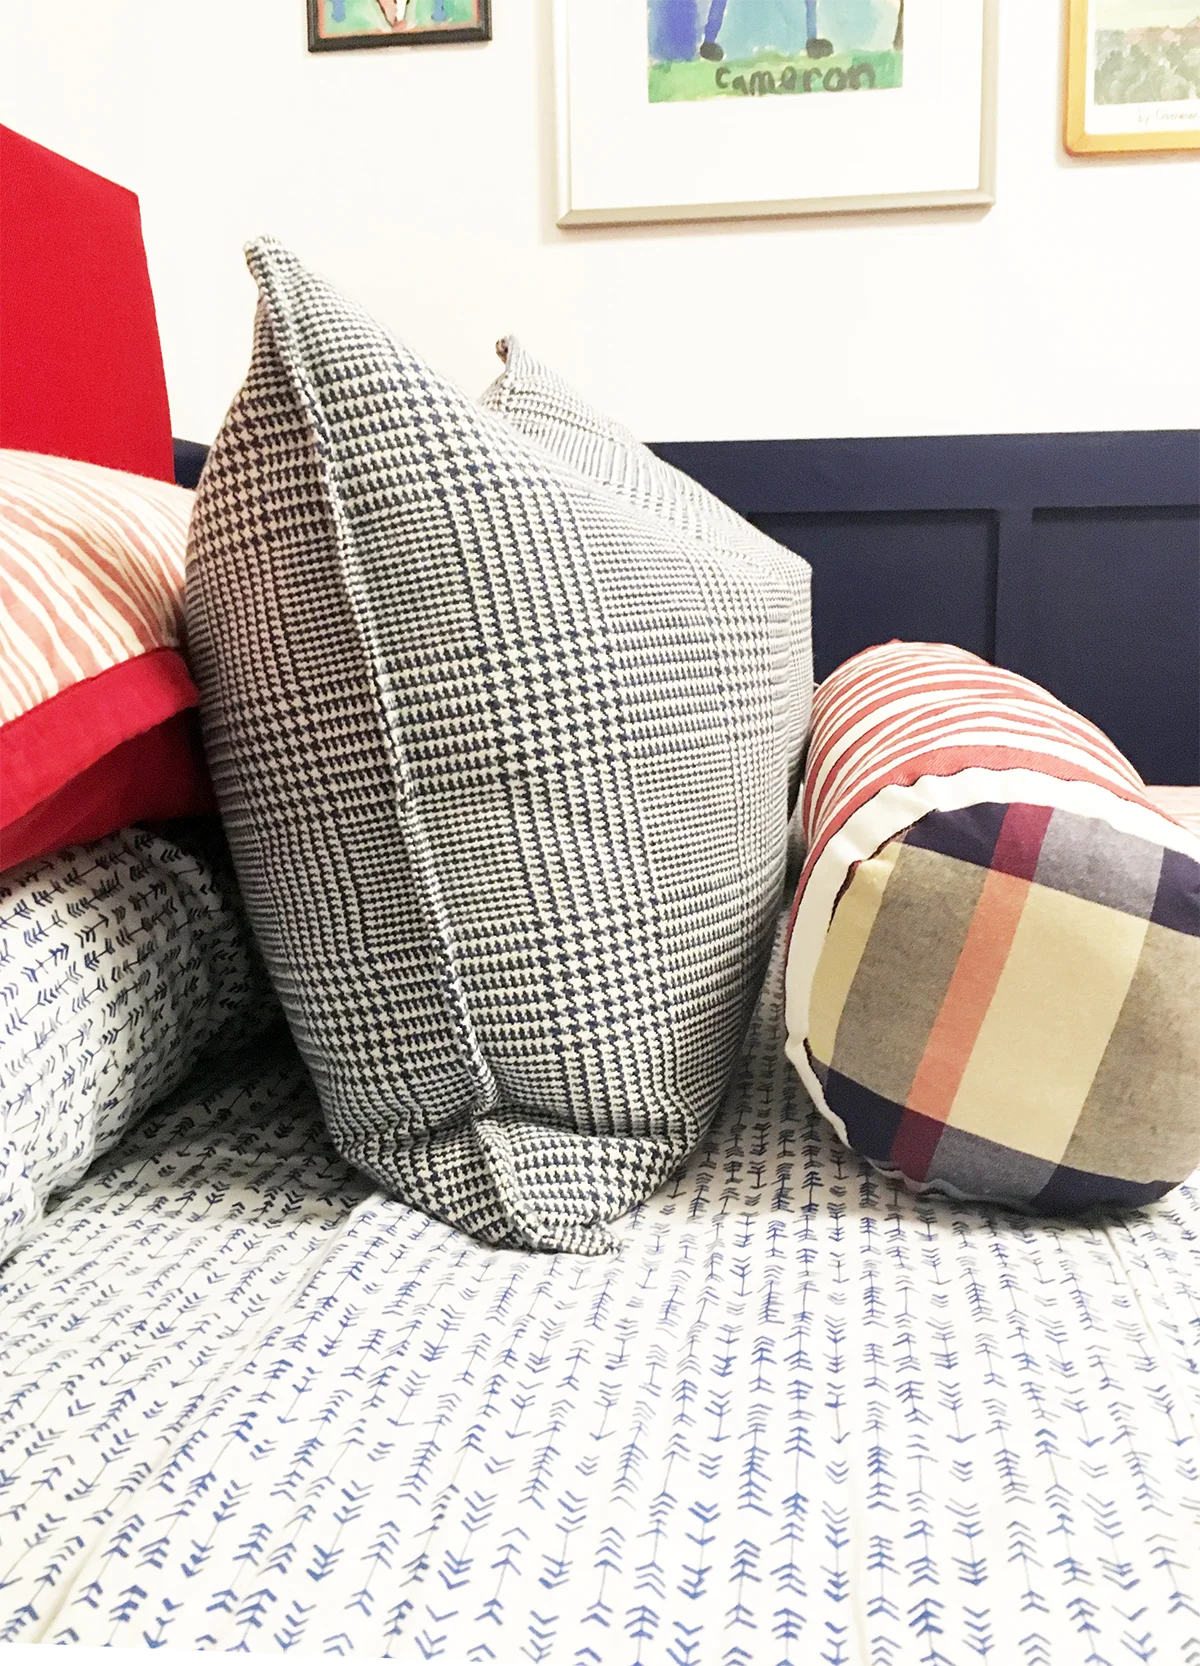
The color scheme was derived by my little client. He knew exactly what he wanted - Red, White, and Blue. He said he had to have those colors because they are his absolute favorites. With that in mind I found the most amazing plaid fabric. I used it as my base fabric and I love the color story.

The mom expressed moving a desk and bookcase into the room, upgrading the size of the bed, and adding seating. Increasing the size of the bed took away some valuable floor space, but I was able to come up with two plans to present to them. Now I love floating furniture in a room, but the second option gives just a little bit more space for play. Check back when we do the final reveal to see what we ended up doing with the space. 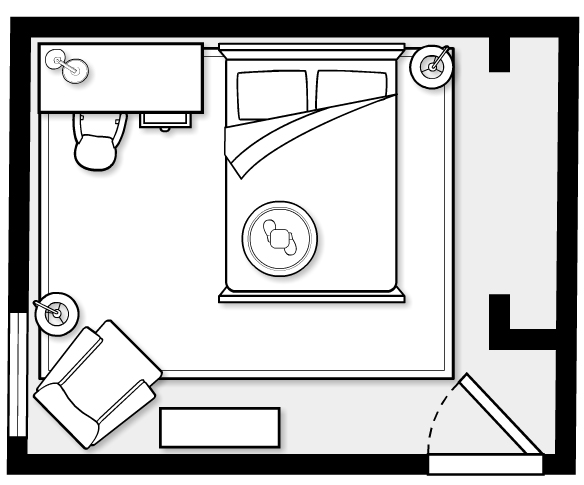

More before pics with a few plan details.
Be sure to stop by next week to see the progress we have made. It is looking pretty darn amazing!
Making Home, Home!
Kathleen
DIY: Ottoman UpDo
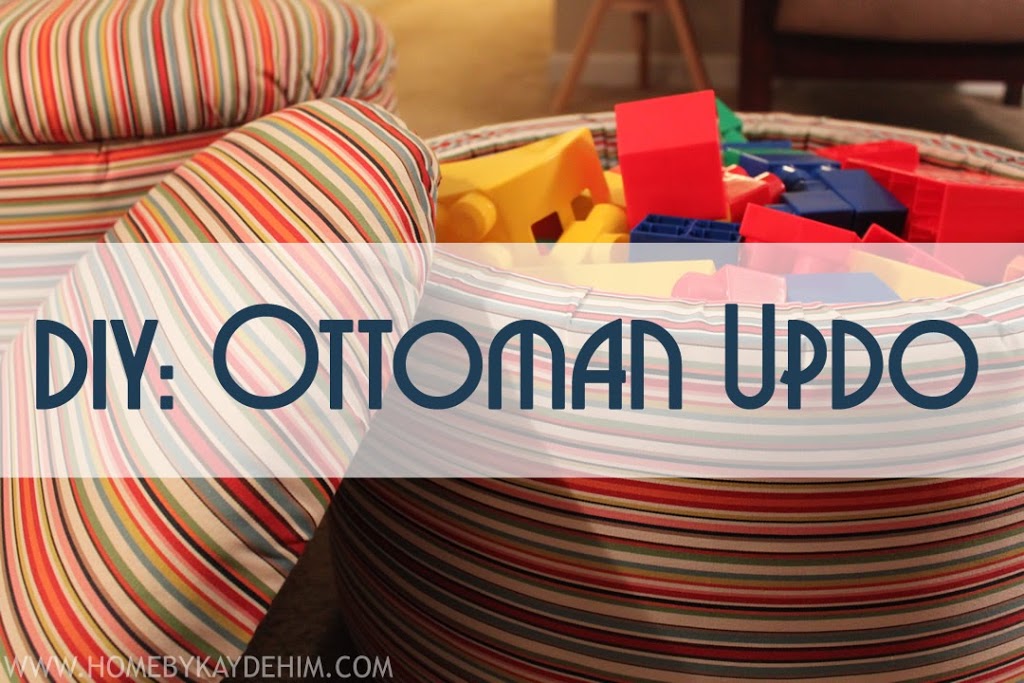
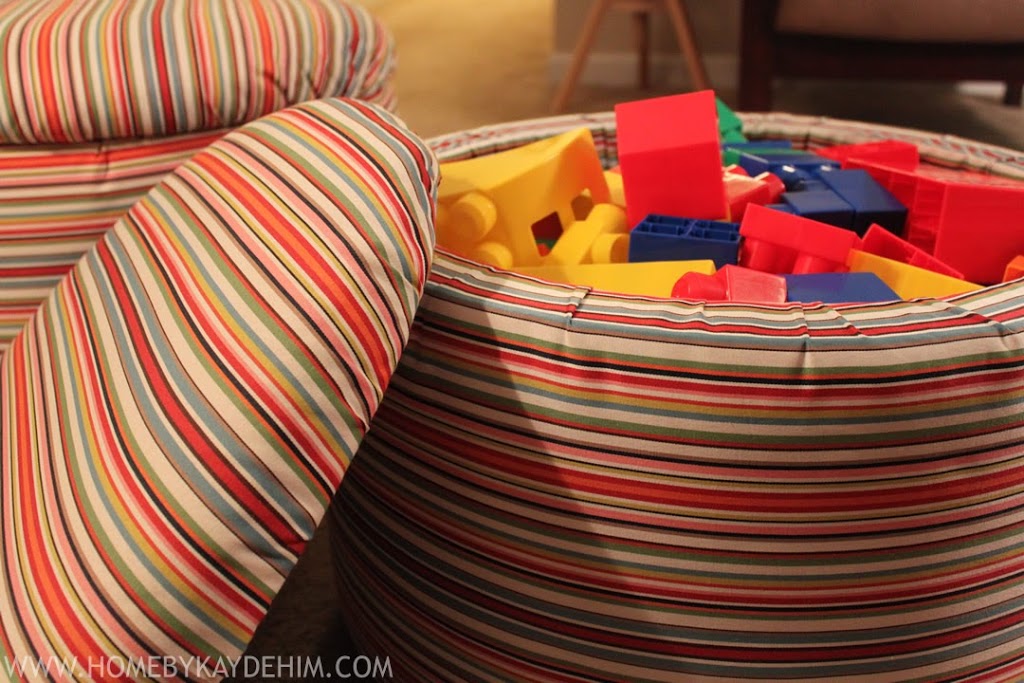
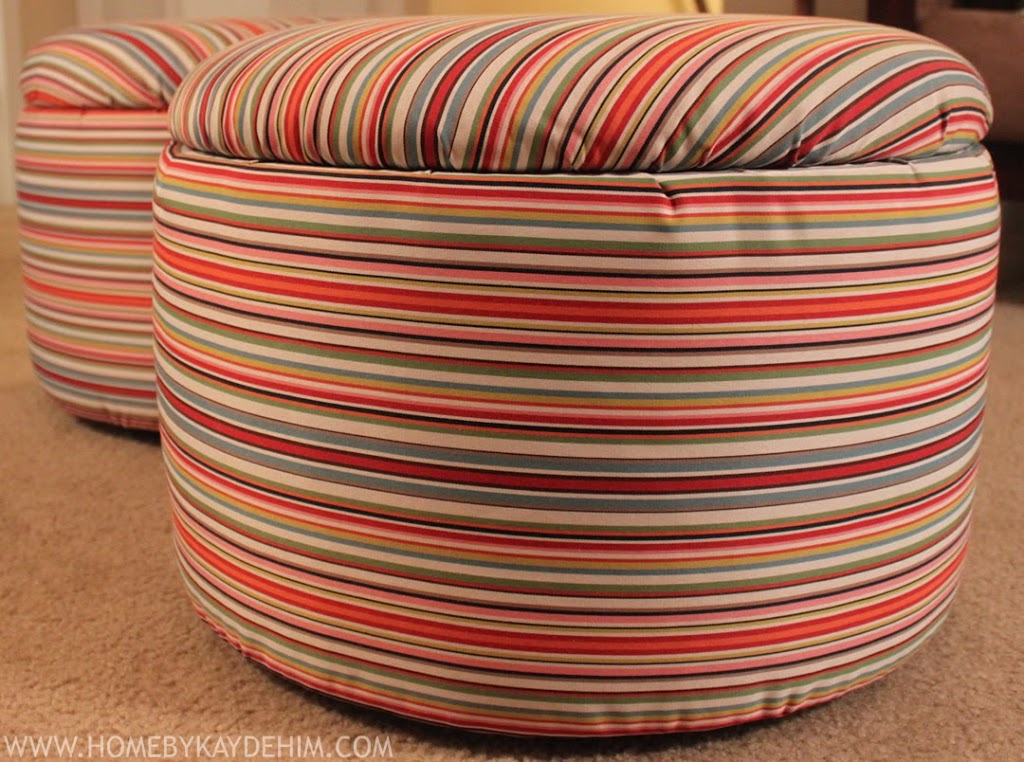
A few days back I revealed my latest design, Project: Children's Playroom, that had the little storage ottomans shown above. What you may not know, is that when I purchased those little babies they were not made with storage at all. When I first saw them, I knew they were the perfect size and shape for the playroom, but they needed to be overhauled just a bit.They had a pretty solid body, but when I flipped them over I noticed they were hollow on the inside. I thought...hmmm, what a waste. So Instantly my mind ran with the idea to not only reupholster them, but to knock off the legs, turn them over, make new tops and wala...new storage ottomans. So...that's just what I did!
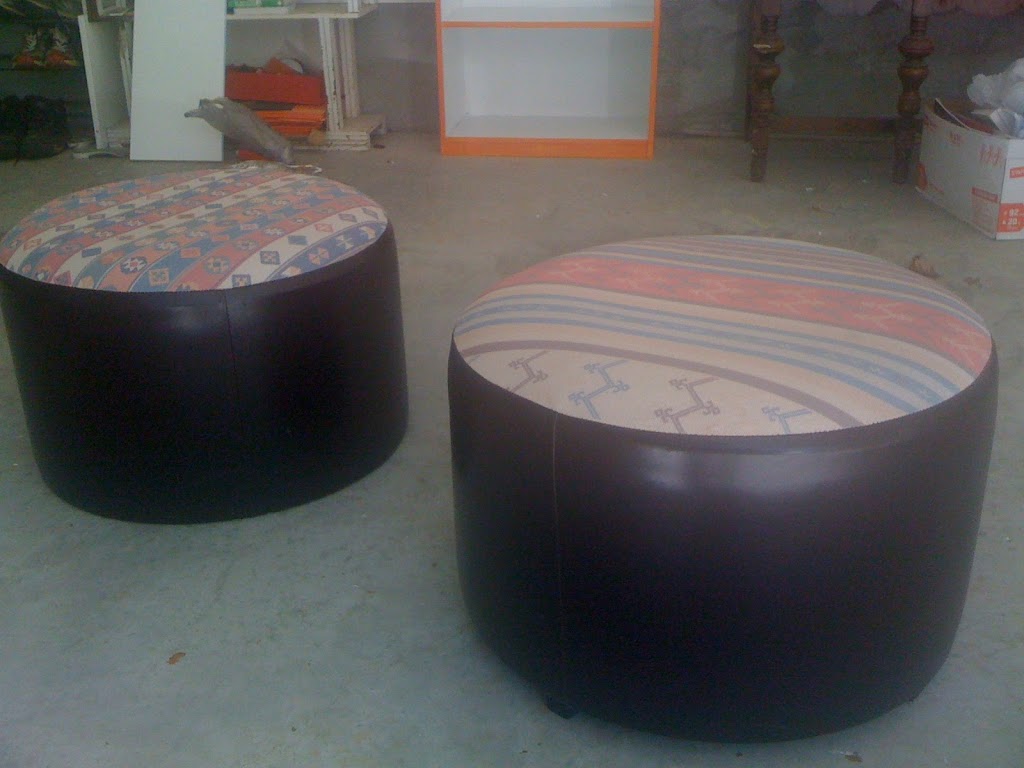 |
| Before Ottomans |
Tools you will possibly need to do something like this yourself.

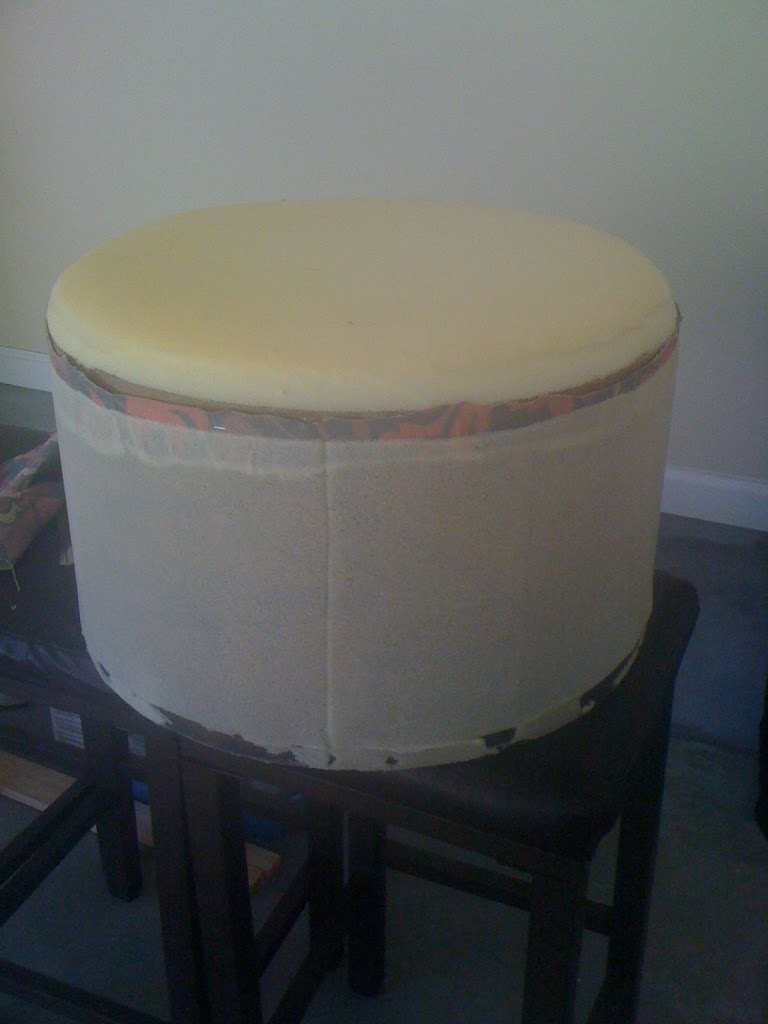
I began by knocking off the little peg legs and removing the existing fabric. The fabric was attached by nailheads all around the bottom of the ottomans (such a waste of nailheads, but I knew I could use them for another project). After removing a gajillion nailheads, the fabric (for the most part) easily pulled off leaving what you see below - a super thin layer of batting and a fabric covered top.
So what is batting? Thanks for asking...Basically batting is a thin layer of cotton, polyester, or wool that goes between layers of fabric. It can come in different thicknesses and is usually sold by the yard. Most fabric stores or shops that specialize in upholstery products carry batting you can purchase.
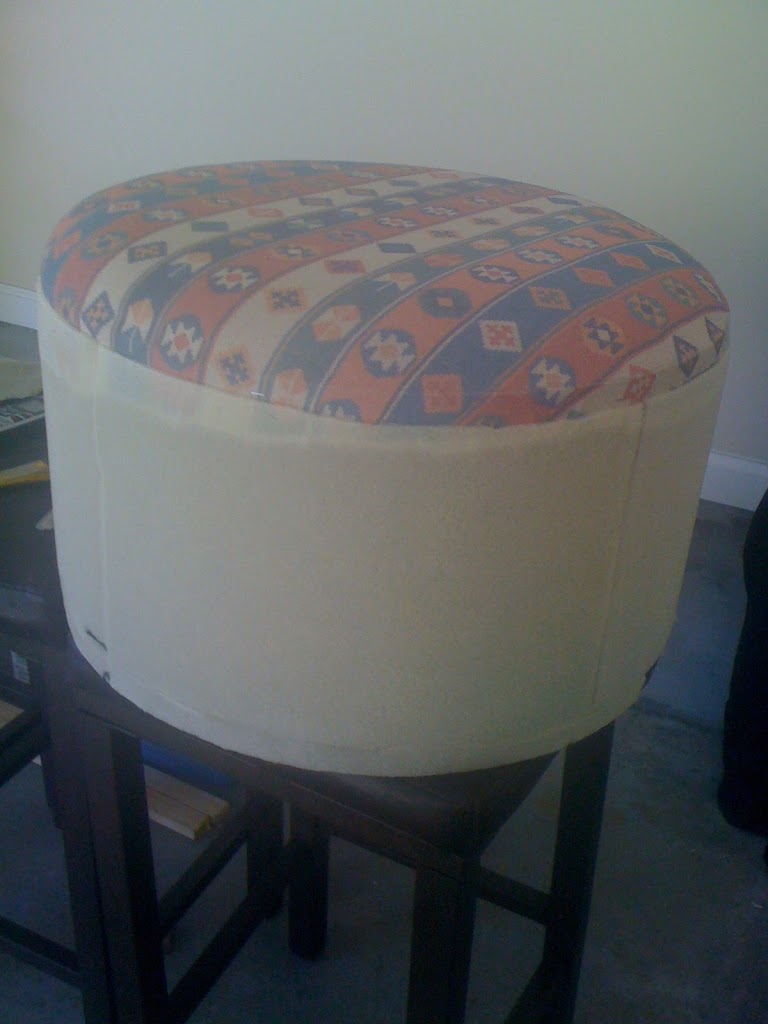
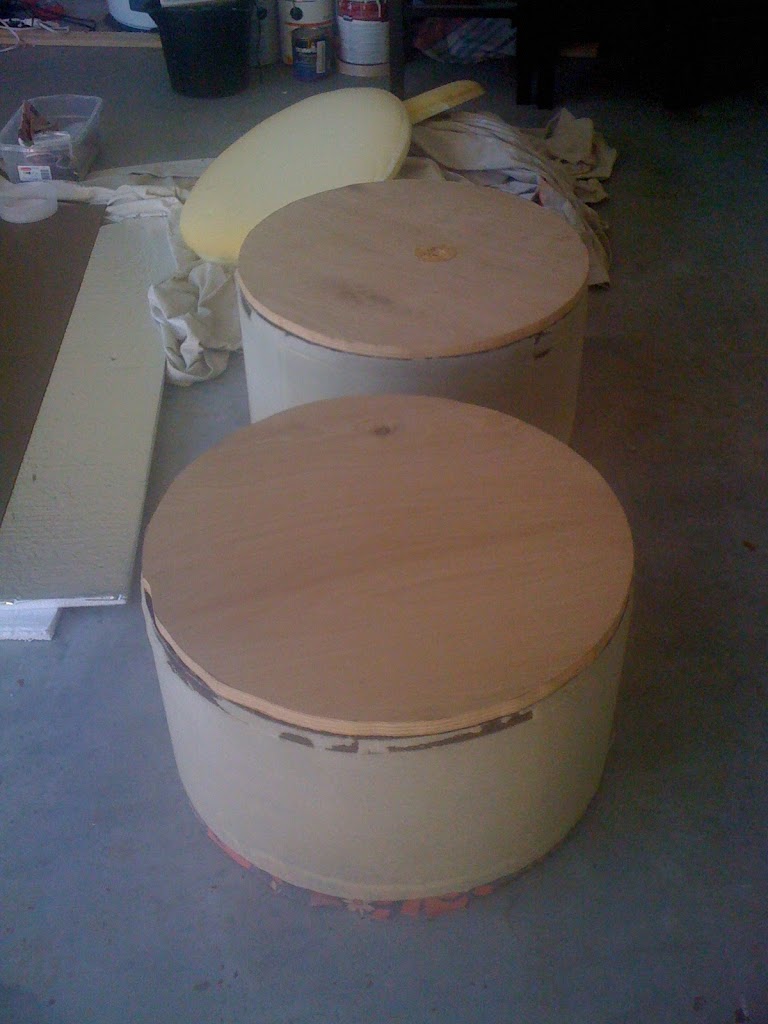
I then used the foam topper to trace out the exact size the new wooden tops needed to be. I knew that the little kiddies and their friends would be pouncing on these tops so I selected two small squares of a pretty sturdy wood (ohhh....I can't remember) to cut from. After tracing the shape onto the wood, I used my handy jigsaw to cut the wood into rounds. I then glued the foam toppers onto the new wooden tops and wrapped batting around them (sorry, I forgot to take a pic).
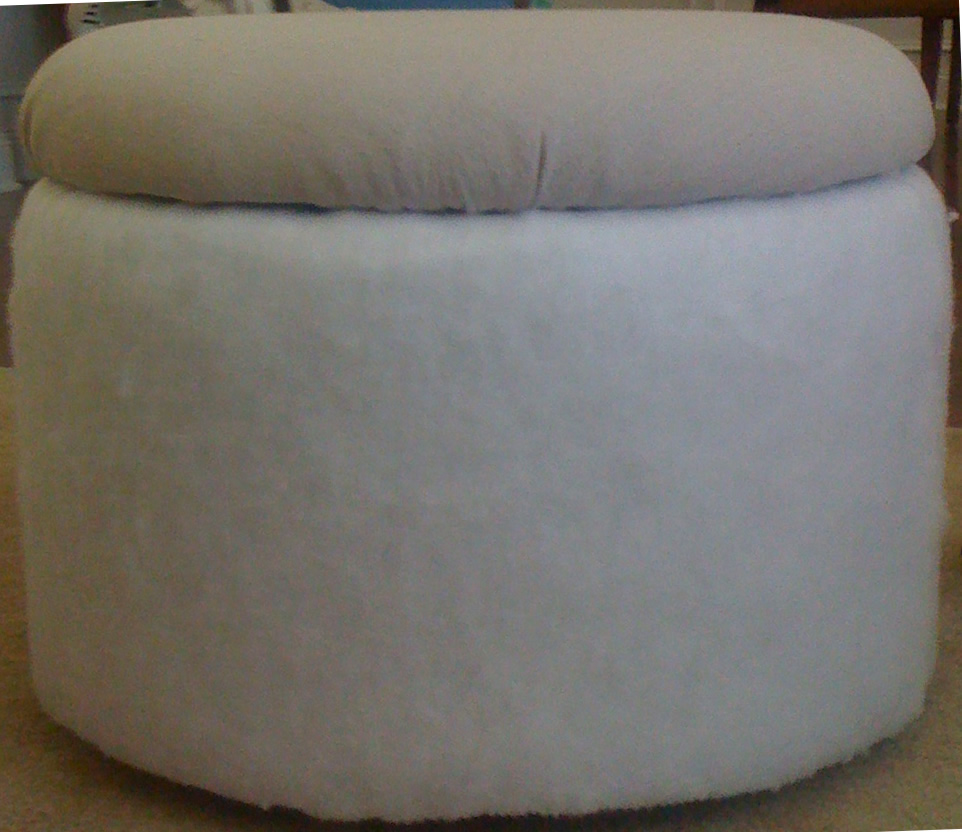
Notice also that the batting here is much thicker than what was originally on the ottoman. I selected a thicker batting because little kiddies would be running around and I wanted it to be a little more plush and soft just in case one of them bumped their little noggins against it while playing ultimate warrior or something. =)) You'd be surprised!!
So there you have it folks!! This is something that you can easily do yourself! It doesn't have to be perfect, just perfect enough for you!! If you have any questions or comments please feel free to drop me a line in the comments section below!! Until next time, happy decorating!!
Making Home,
Kathleen