
DIY: Ottoman UpDo
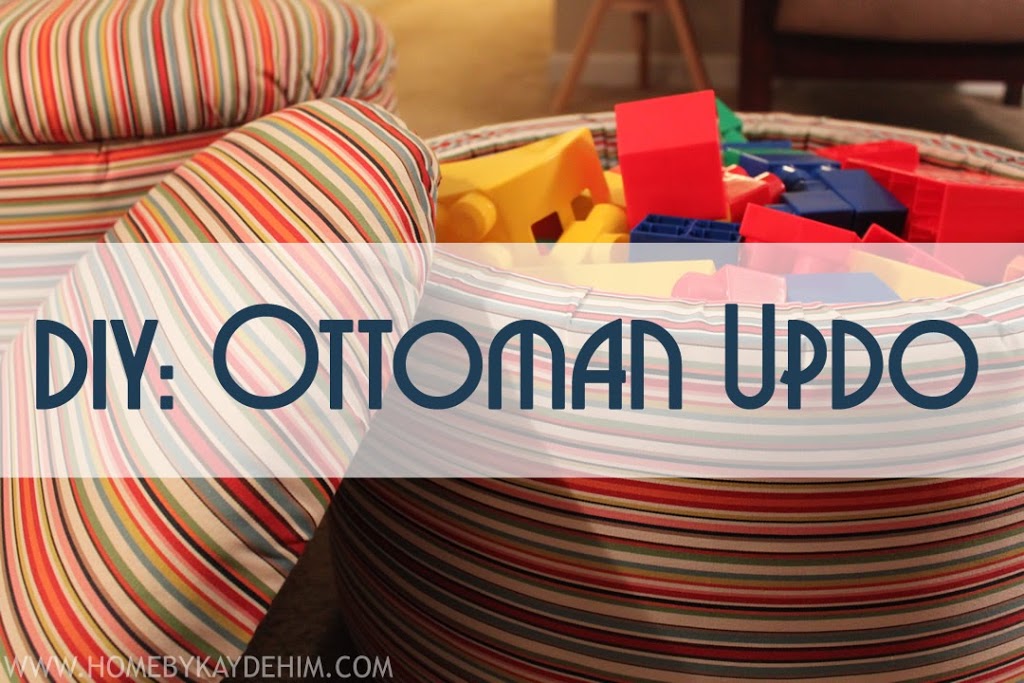
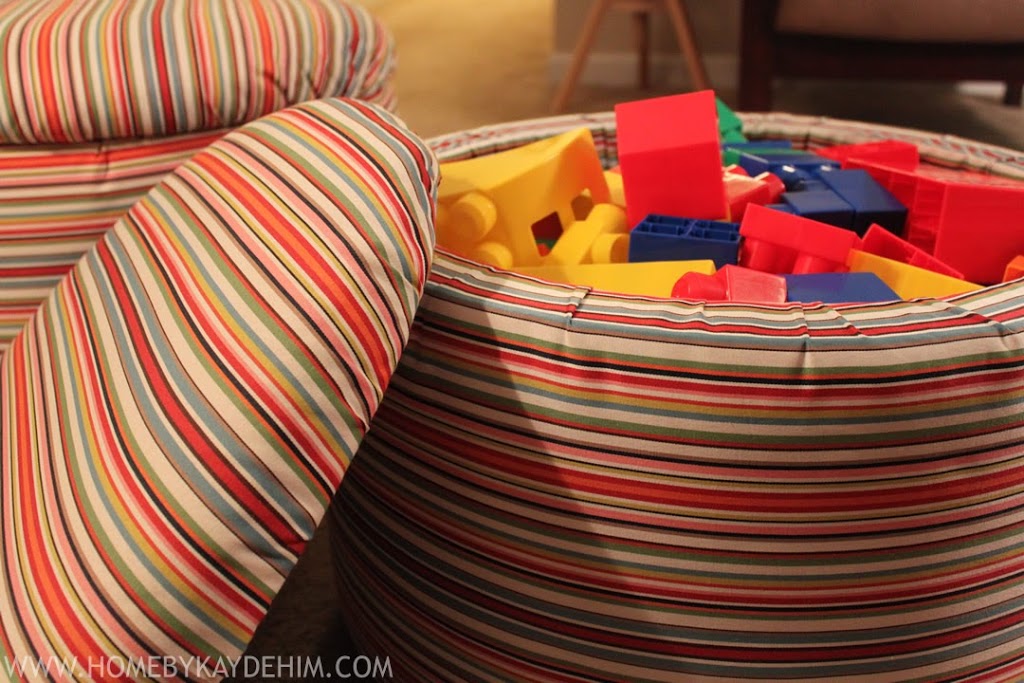
A few days back I revealed my latest design, Project: Children's Playroom, that had the little storage ottomans shown above. What you may not know, is that when I purchased those little babies they were not made with storage at all. When I first saw them, I knew they were the perfect size and shape for the playroom, but they needed to be overhauled just a bit.They had a pretty solid body, but when I flipped them over I noticed they were hollow on the inside. I thought...hmmm, what a waste. So Instantly my mind ran with the idea to not only reupholster them, but to knock off the legs, turn them over, make new tops and wala...new storage ottomans. So...that's just what I did!
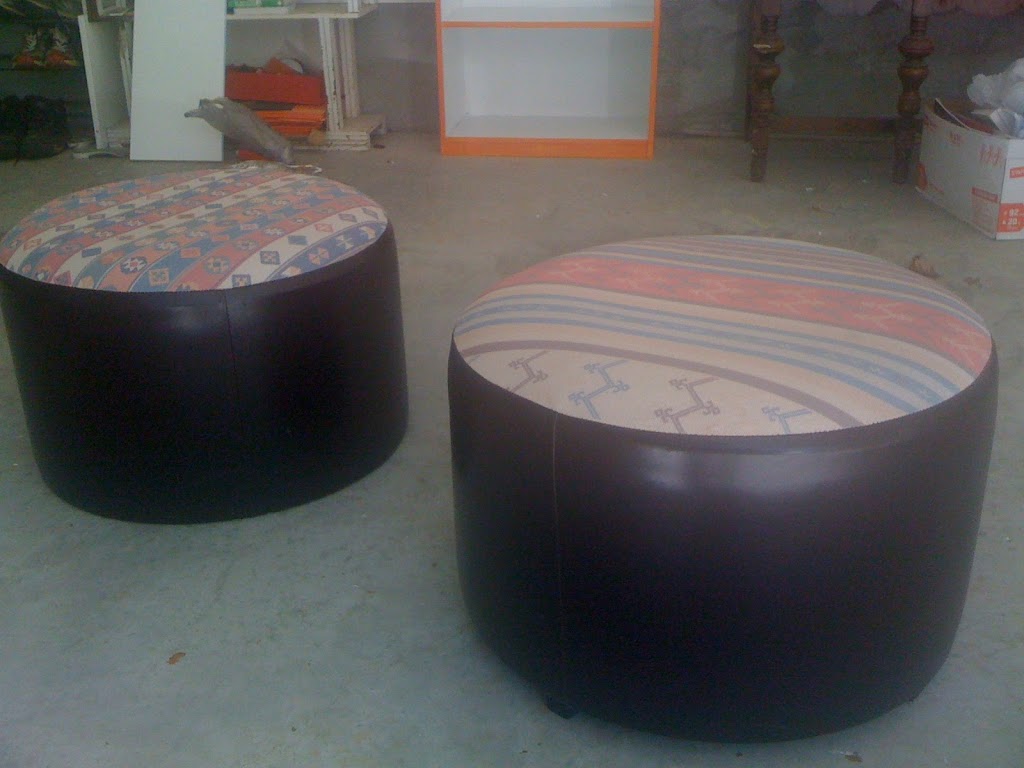 |
| Before Ottomans |
Tools you will possibly need to do something like this yourself.

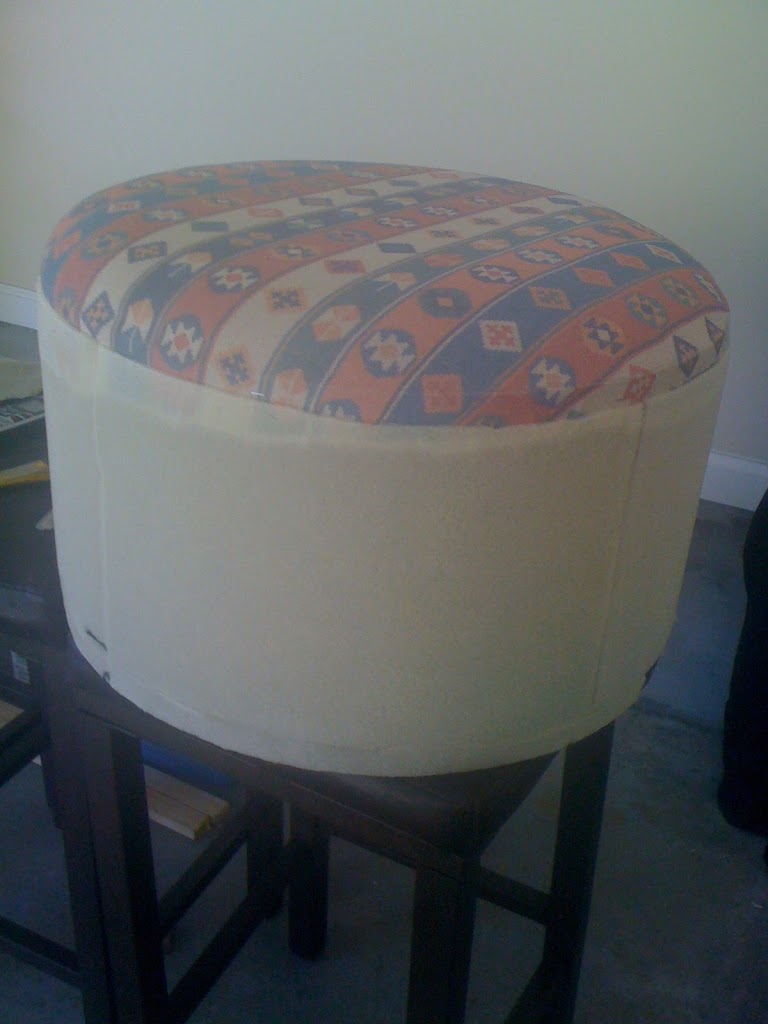
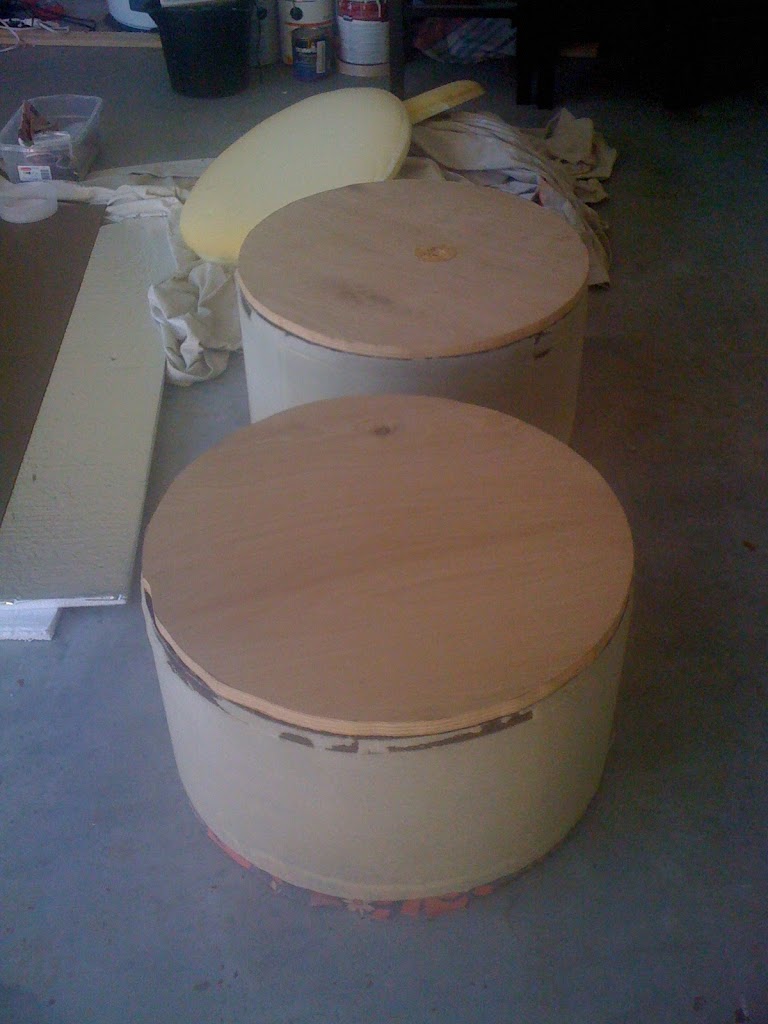
I began by knocking off the little peg legs and removing the existing fabric. The fabric was attached by nailheads all around the bottom of the ottomans (such a waste of nailheads, but I knew I could use them for another project). After removing a gajillion nailheads, the fabric (for the most part) easily pulled off leaving what you see below - a super thin layer of batting and a fabric covered top.
So what is batting? Thanks for asking...Basically batting is a thin layer of cotton, polyester, or wool that goes between layers of fabric. It can come in different thicknesses and is usually sold by the yard. Most fabric stores or shops that specialize in upholstery products carry batting you can purchase.
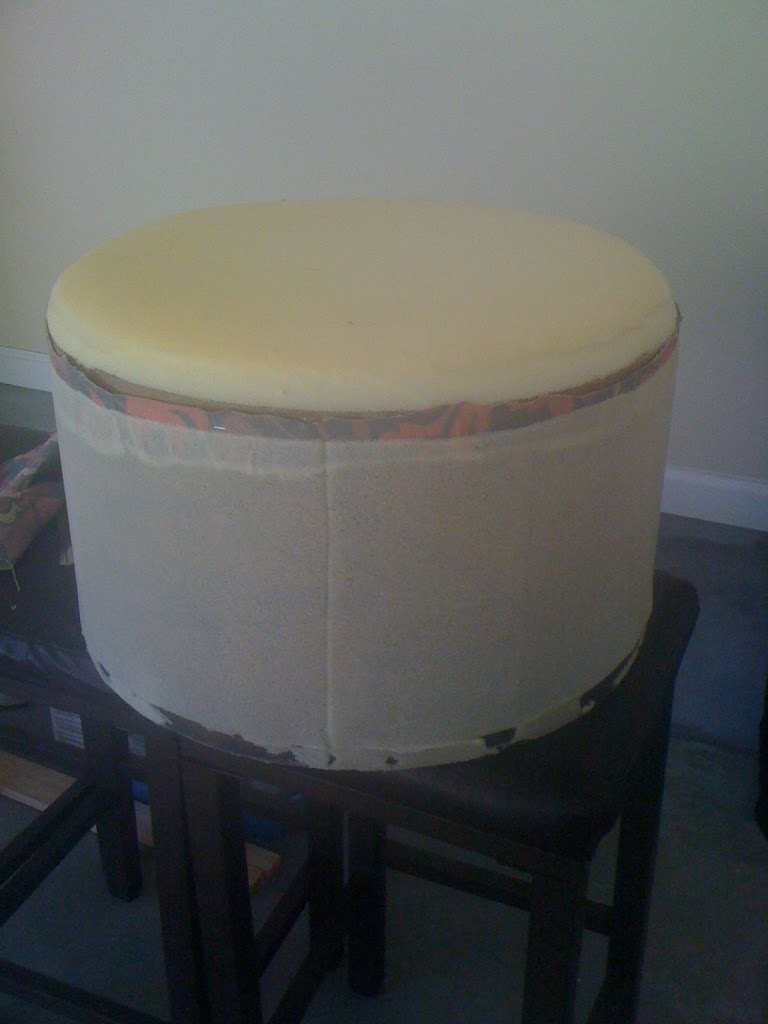
I then used the foam topper to trace out the exact size the new wooden tops needed to be. I knew that the little kiddies and their friends would be pouncing on these tops so I selected two small squares of a pretty sturdy wood (ohhh....I can't remember) to cut from. After tracing the shape onto the wood, I used my handy jigsaw to cut the wood into rounds. I then glued the foam toppers onto the new wooden tops and wrapped batting around them (sorry, I forgot to take a pic).
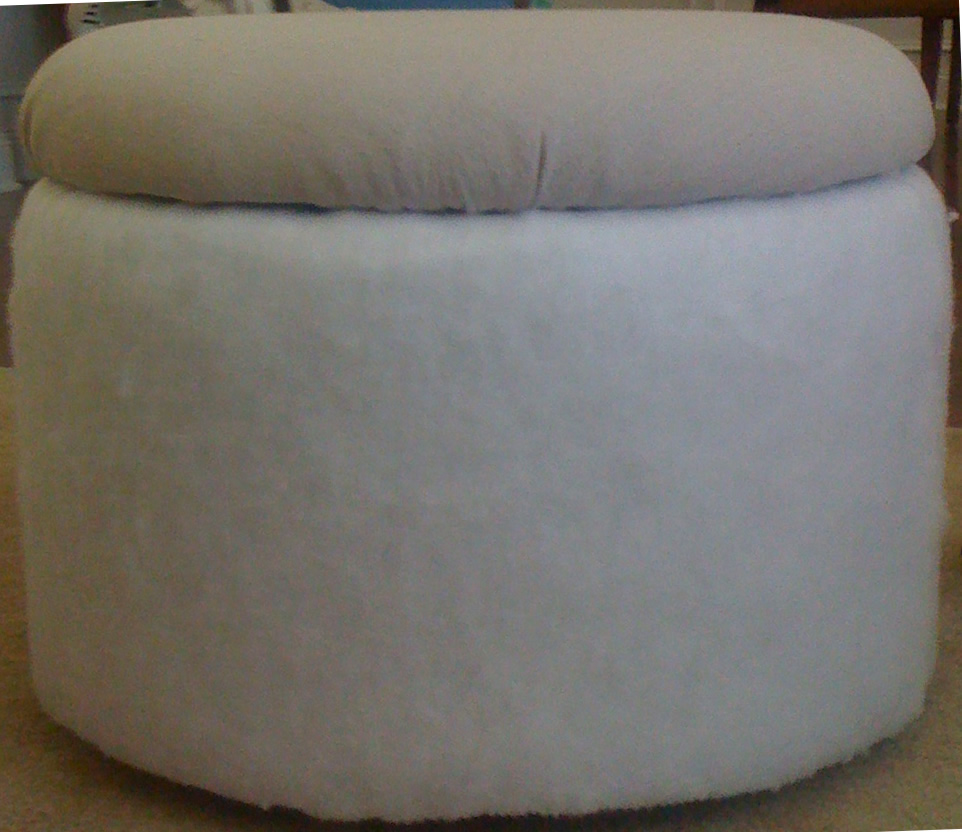
Notice also that the batting here is much thicker than what was originally on the ottoman. I selected a thicker batting because little kiddies would be running around and I wanted it to be a little more plush and soft just in case one of them bumped their little noggins against it while playing ultimate warrior or something. =)) You'd be surprised!!
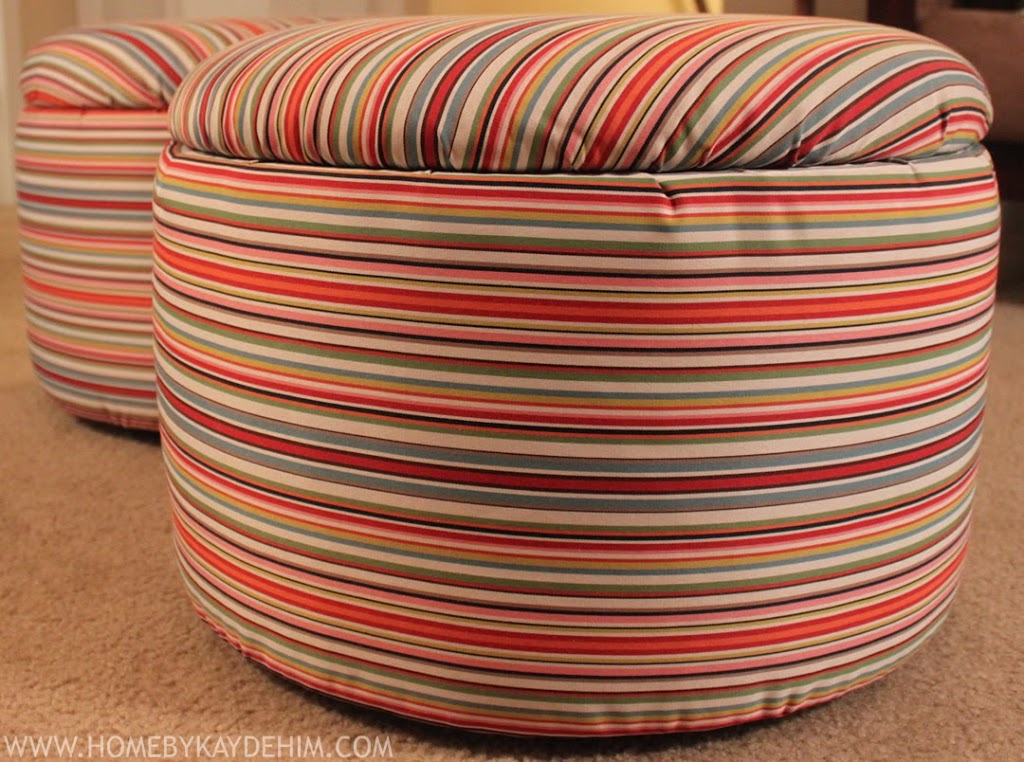
So there you have it folks!! This is something that you can easily do yourself! It doesn't have to be perfect, just perfect enough for you!! If you have any questions or comments please feel free to drop me a line in the comments section below!! Until next time, happy decorating!!
Making Home,
Kathleen
The Beginning...
 |
Hello Everyone!
Welcome to HOME by Kaydehim created by me...Kathleen Mapson!
I am new to the blogging world, but in the never ending land of blogs I am ready to niche out my little corner of blogger heaven. Because I love interior design and can never really stop talking about it - I can really go on, and on, and on *shrugs shoulders* - I decided to use this platform for a few reasons...
1. To chronicle my thoughts about design and art (Art, my first love!) 2. To organize and share my own design projects 3. To demonstrate how to create and save money through easy-to-do DIY projects (you too can do it!) 4. To display the beautiful works of others that I am constantly (and a little obsessively) inspired by 5. To be inspired by you (the readers), your creations, and your thoughts, questions, and comments
(SN) - I love lists, so you will probably see a lot of these in my posts. =) It just makes life a little bit easier especially since I can ramble on about design!! =))
I believe that your house should be a direct reflection of you (your family) and the life that you live...AND...it doesn't or shouldn't have to cost a fortune! *such a myth, but if you have a fortune I'm all for that too!* So my goal is to bring you great design solutions that will be inspiring, simple to complete (I hope), and just plain ol' awesome! With every picture and every post, I would love for you to be a part of the conversation by sharing your thoughts or posting links to your ideas or that of others. We are all in this together right? =)
So I leave you with this (which is the reason for everything I will ever post)...It is my hope that you will feel encouraged enough to create a space that is a beautiful reflection of you - all while keeping it fresh and functional.